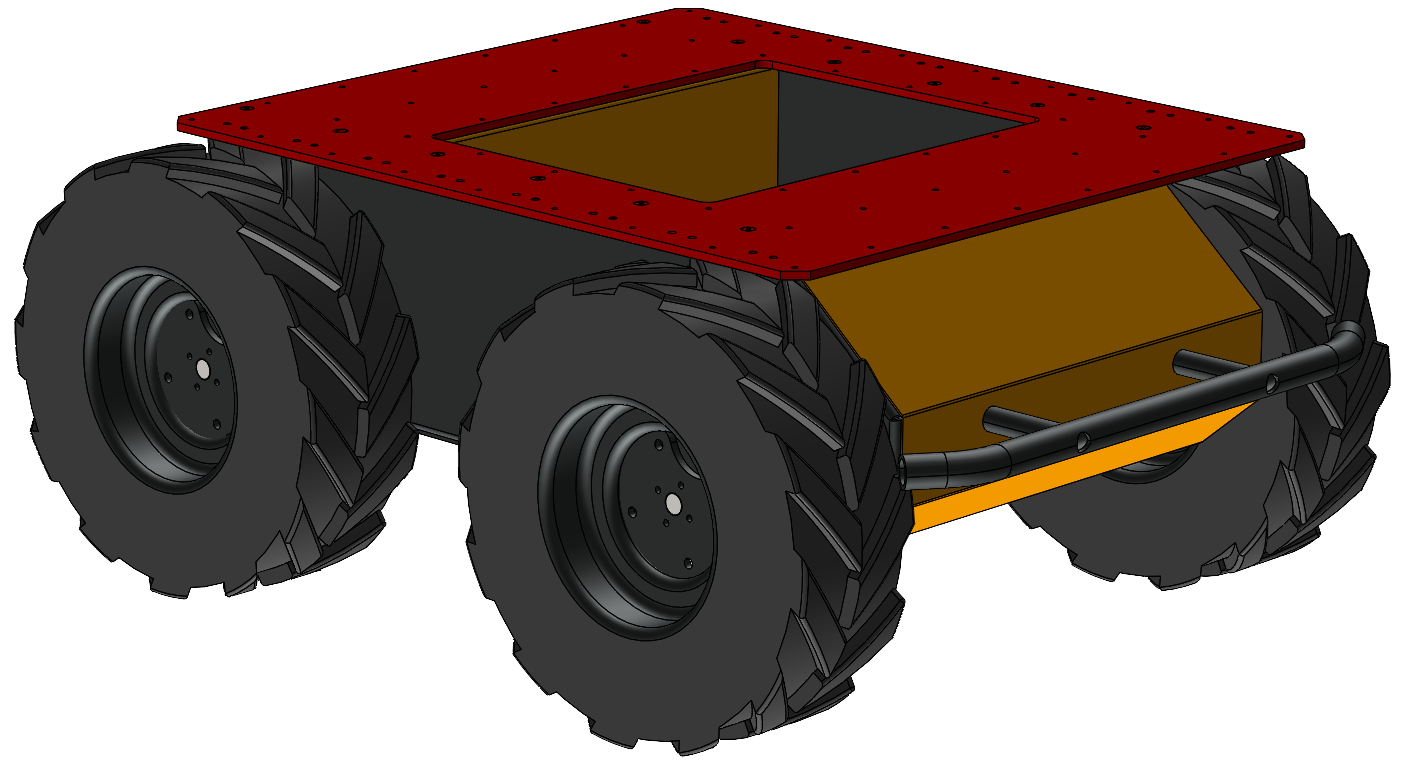
Top Plate
Sales Kits
| Description | Sales Kit | Installation Kit, With Fasteners |
|---|---|---|
| Installation, Kit, Attachment Top Plate—Husky | 026942 | 027227 |
Parts List
| ID | Description | CPR item | Quantity |
|---|---|---|---|
| 1 | Plate—670 X 590 | 026359 | 1 |
| 2 | Angle, Bracket—564 X 25 X 25 | 007845 | 2 |
| 3 | Screw, Cap, Socket Head—M5×0.8 X 14, Stainless Steel | 023152 | 4 |
| 4 | Screw, Cap, Flat Head—M5×0.8 X 16, Stainless Steel | 023473 | 12 |
| 5 | Nut, Hex, Lock, Polymer Insert—M5×0.8 X 5, Stainless Steel | 010170 | 12 |
Tools required
- Wrench, 8 mm
- Hex Key, 3 mm
- Hex Key, 4 mm
- Torque wrench (optional, for safety applications)
- Loctite 243 (optional, for high vibration applications)
Installation
Step 1
Remove the old top plate or 20 X 20 aluminum extruision from the top of your Husky.
Step 2
Remove the 4 screws on the sides of the Husky (2 per side).
Step 3
Install the two Angle Brackets (ID2) onto the bottom of the Plate (ID1). The top side of the plate has the countersink features to the 12 mounting holes. Use the 12 screws (ID4) and nuts (ID5) to attach the Angle brackets to the Plate. Torque to 5 N·m
Fasteners should be turned slowly to prevent galling of the stainless steel fasteners. Do not exceed 0.5 revolution per second when the fastener is nearly tight.
Step 4
Place the asesmbly onto the Husky. The Husky's width may be larger than the assembly. It is easiest to start at the back of the Husky, and slowly rotate the assembly onto the Husky. You may need to loosen the 12 fastener connections from step 3 to get the assembly to fit onto the Husky.
Step 5
Fasten the assembly on the Husky using 4 screws (ID3). Torque these screws to 5 N·m.
You may add a small amount of thread locker to these screws if you are concerned about them loosening from high vibration applications.
Step 6
Re-torque any fasteners from step 3 that you loosened to ease installation of the assembly onto the Husky.