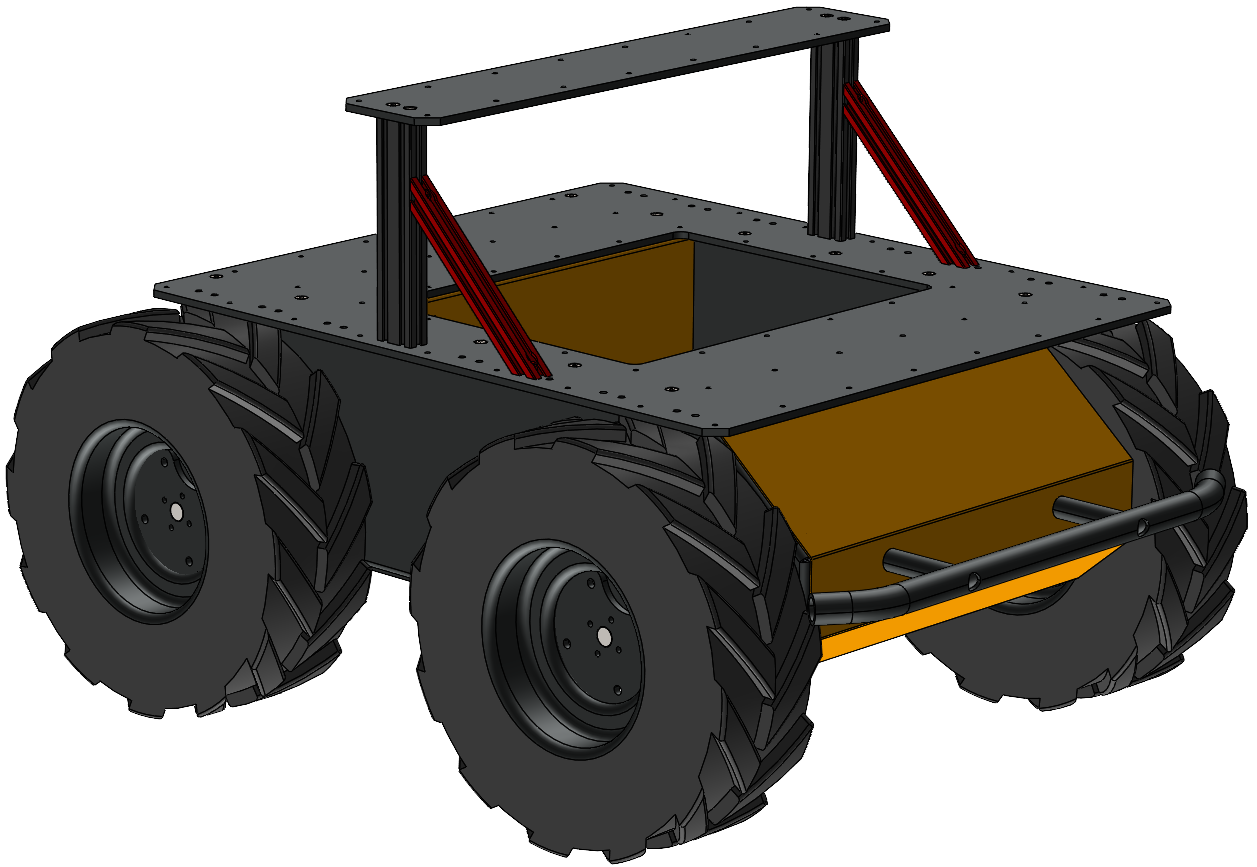
Riser Stiffener

Sales Kits
These kits require a Husky with a Top Plate, and a Riser. Refer to the Top Plate, Full Riser, and Partial Riser pages for further details.
| Description | Sales Kit | Installation Kit, With Fasteners |
|---|---|---|
| Installation, Kit, Attachment Tower Stiffener—Husky, Vertical, 144 | 027487 | 027482 |
| Installation, Kit, Attachment Tower Stiffener—Husky, Vertical, 224 | 027488 | 027483 |
| Installation, Kit, Attachment Tower Stiffener—Husky, Vertical, 304 | 027489 | 027484 |
| Installation, Kit, Attachment Tower Stiffener—Husky, Vertical, 384 | 027490 | 027485 |
| Installation, Kit, Attachment Tower Stiffener—Husky, Vertical, 464 | 027491 | 027486 |
Parts List
| ID | Description | CPR item | Quantity |
|---|---|---|---|
| 1A | Beam, 45°—144 X 20 X 20, T-slot, Aluminum | 027492 | 2 |
| 1B | Beam, 45°—224 X 20 X 20, T-slot, Aluminum | 027479 | 2 |
| 1C | Beam, 45°—304 X 20 X 20, T-slot, Aluminum | 027493 | 2 |
| 1D | Beam, 45°—384 X 20 X 20, T-slot, Aluminum | 027494 | 2 |
| 1E | Beam, 45°—464 X 20 X 20, T-slot, Aluminum | 027495 | 2 |
| 2 | Screw, Cap, Socket Head—M5×0.8 X 8, Stainless Steel | 023149 | 4 |
| 3 | Nut, Extrusion, Post-Assembly, Leaf Spring—M5×0.8 X 5.8, Stainless Steel | 026955 | 2 |
| 4 | Nut, Hex, Lock, Polymer Insert—M5×0.8 X 5, Stainless Steel | 010170 | 2 |
Tools
- Hex Key, 3 mm
- Torque wrench (optional, for safety applications)
- Loctite 243 (optional, for high vibration applications)
Installation
Step 1
Decide if you are installing the Stiffener on the front or back side of the Riser.
Step 2
Clip one of the nuts (ID3) into the Riser's Beam, on the side where you will be installing the Stiffener.
Step 3
Loosely attach the 45° Beam to the nut using a screw (ID3).
You may add a small amount of thread locker to these screws if you are concerned about them loosening from high vibration applications.
Step 4
Align the 45° beam with its mating hole on the Husky's Top Plate
Step 5
Add a screw (ID2) thru the Stiffener and Top Plate, with the screw's head facing up.
Step 6
Tighten the joint by adding a hex nut (ID4) to the bottom of the Husky's Top Plate. Torque the nut to 5 N·m.
Step 7
Tighten the screw from Step 3.
Step 8
Repeat steps 1 - 7 for the second Stiffener.