Jetson Software
Software Installation
Step 1: Put Jetson in Recovery Mode (TX2 and Xavier AGX only)
This step is not required for Jetson Nano
Put the Jetson into recovery mode by following these steps:
- Connect the Jetson to the computer onto which SDK Manager will be installed (see next step) using the provided microUSB cable.
- Make sure the Jetson is powered off.
- Connect a monitor, mouse, and keyboard to the Jetson. (The mouse is optional, but recommended. If you do not have an all-in-one mouse+keyboard you will need to use a small USB hub, as the Jetson only has a single USB port.)
- Press and hold the REC button.
- Press the power button.
Step 2A: Download and Install Nvidia's SDK Manager (TX2 and Xavier AGX only)
This step is not required for Jetson Nano
-
Download the appropriate version of Nvidia's SDK Manager onto the computer connected to the Jetson.
noteSDK Manager is used for installing software on the Jetson from the host computer. If using Jetson TX2, only JetPack 4.x is supported and the host computer will need to have Ubuntu 16.04 or Ubuntu 18.04 installed. If using Jetson Xavier Nano/AGX, JetPack 5.x is supported and the host computer will need to have Ubuntu 18.04 or Ubuntu 20.04 installed.
-
Install the SDK Manager by running the following commands:
cd <folder where you downloaded SDK manager>
sudo dpkg -i sdkmanager_<version>_amd64.debnoteIf your system is missing dependencies you may see error messages in the output of the
dpkgcommand. To resolve these, runsudo apt-get -f install. -
Login the the SDK Manager using your Nvidia developer credentials.
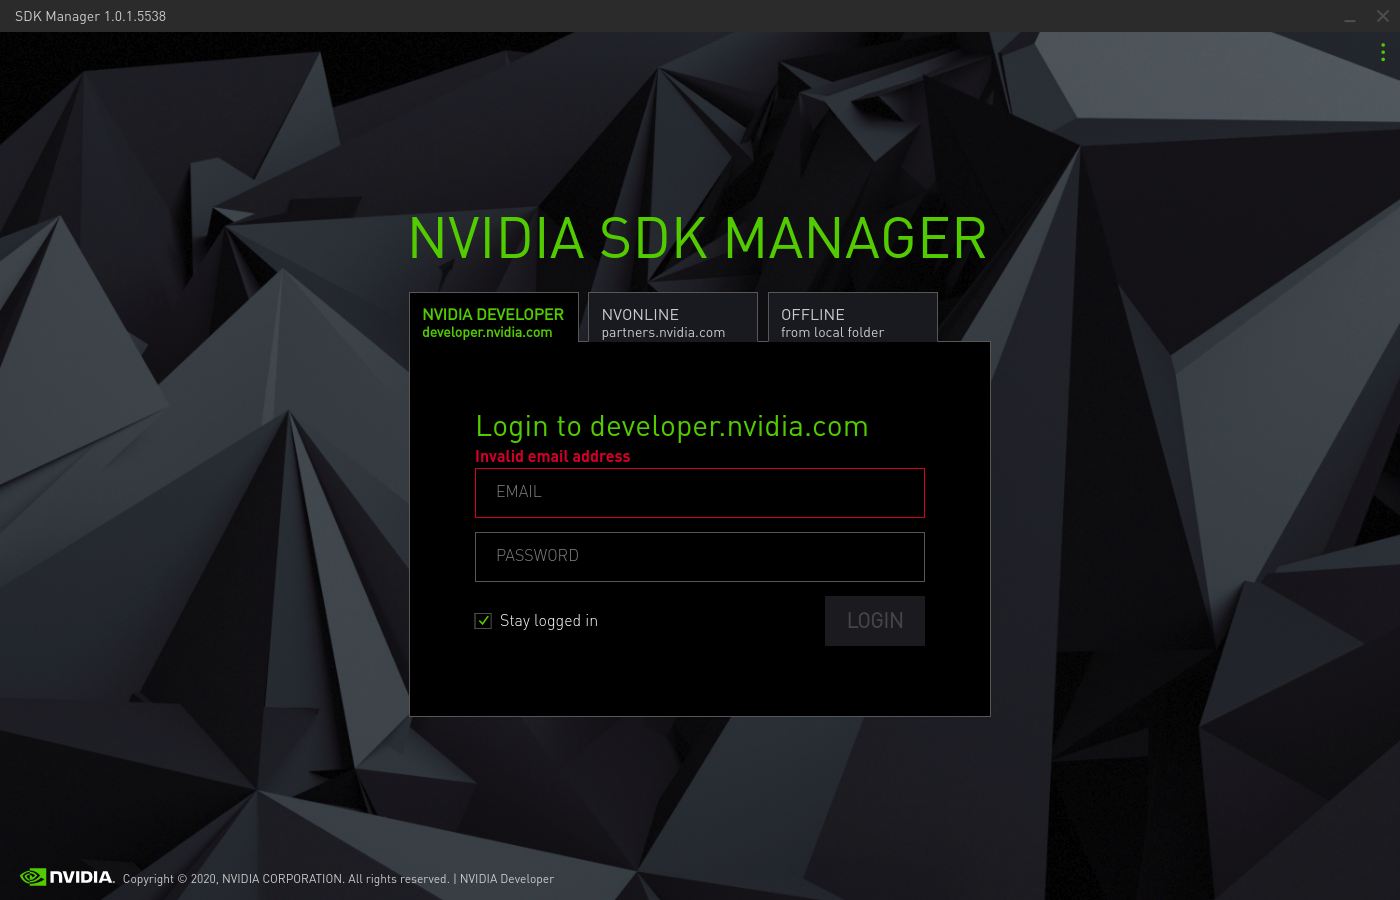
Nvidia developer login -
Specify the Hardware Configuration. You do not need to setup your Host Machine unless you are planning on doing Cuda work on your local computer. This can usually be disabled. Under the Target Hardware, make sure to choose TX2 or Xavier AGX to match your hardware. Once complete, click "Continue to Step 02".
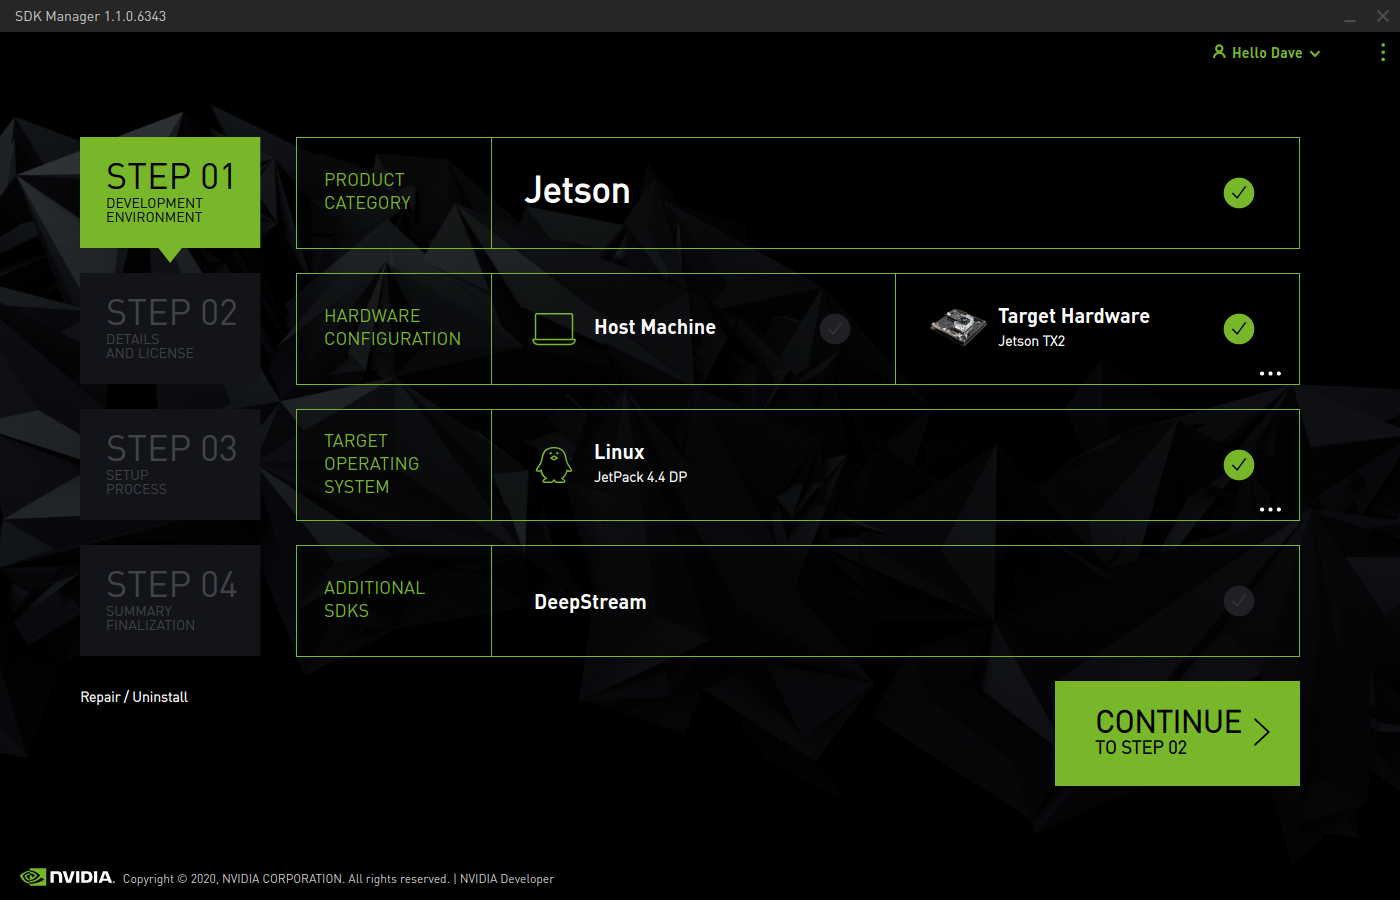
Selecting Target Hardware (TX2 shown) -
Accept the terms. Make sure the Download and Target directories are in locations that you have write-access to and that your hard drive has enough space for the files. Click "Continue to Step 03".
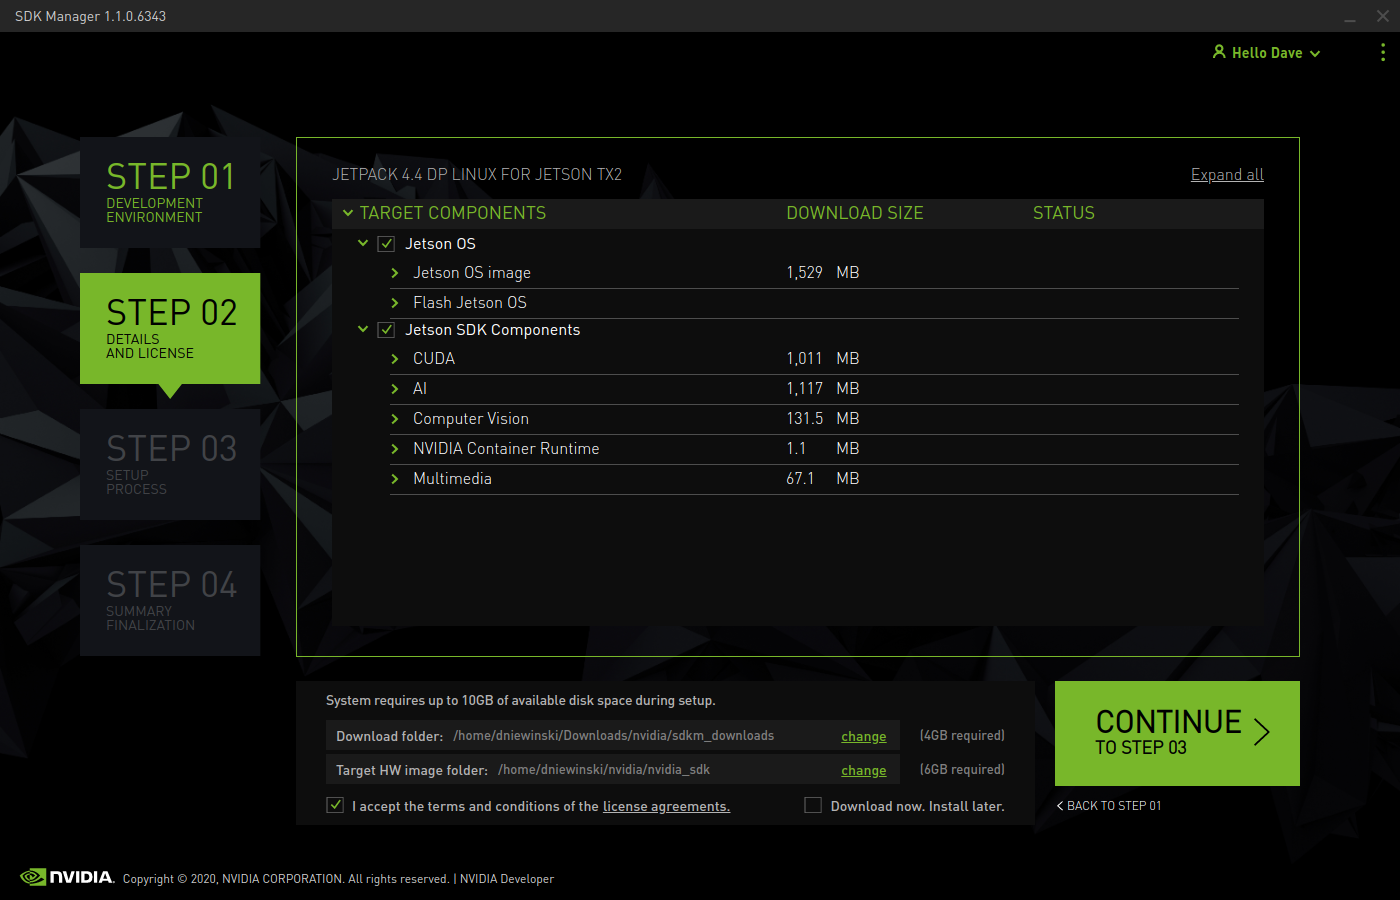
Selecting Target Hardware -
Enter your sudo password and wait for the SDK manager will download the necessary files and install the image on the Jetson.
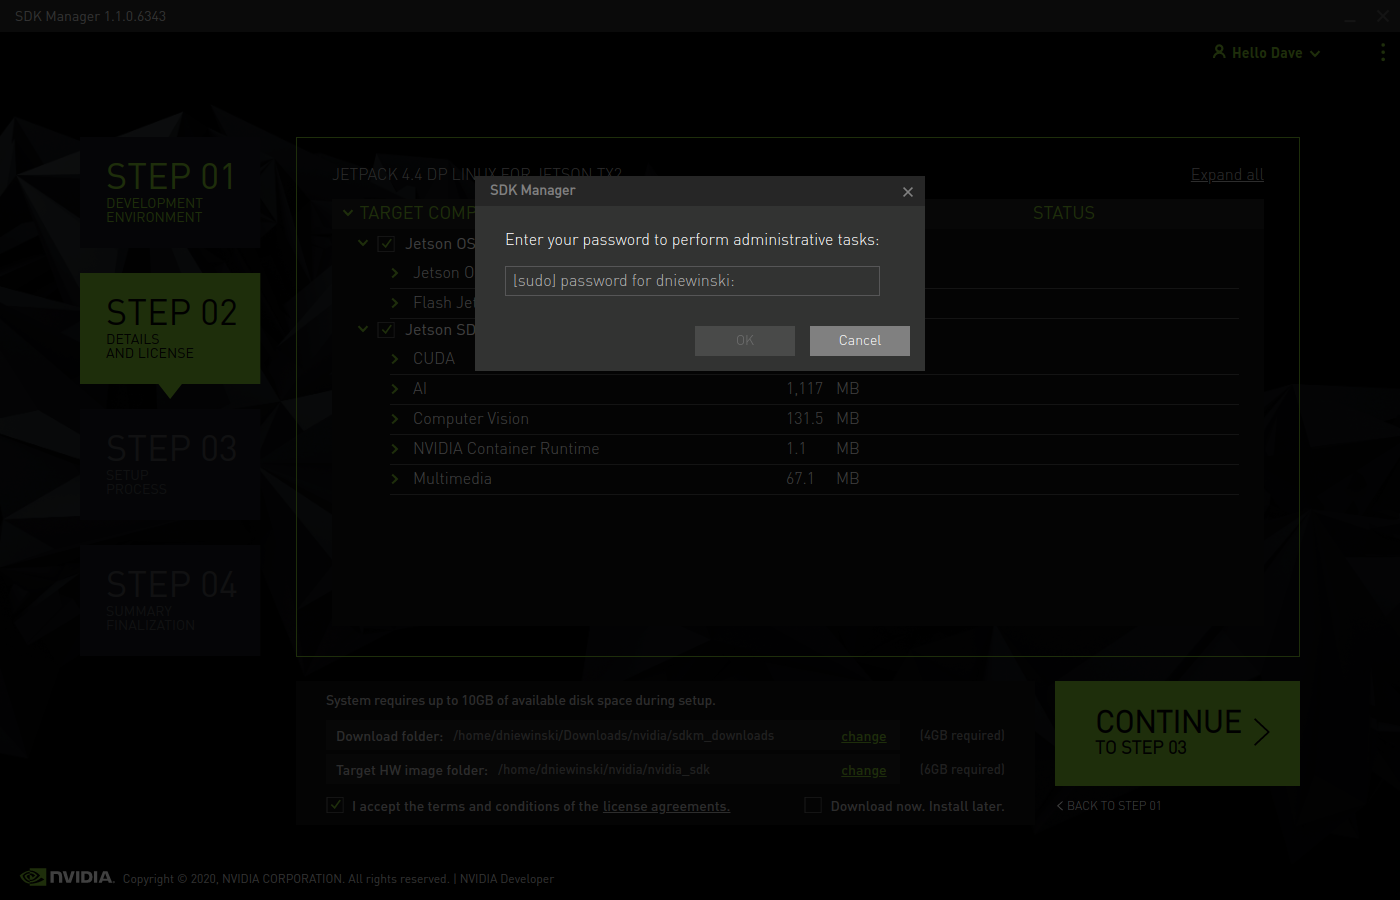
Entering sudo password 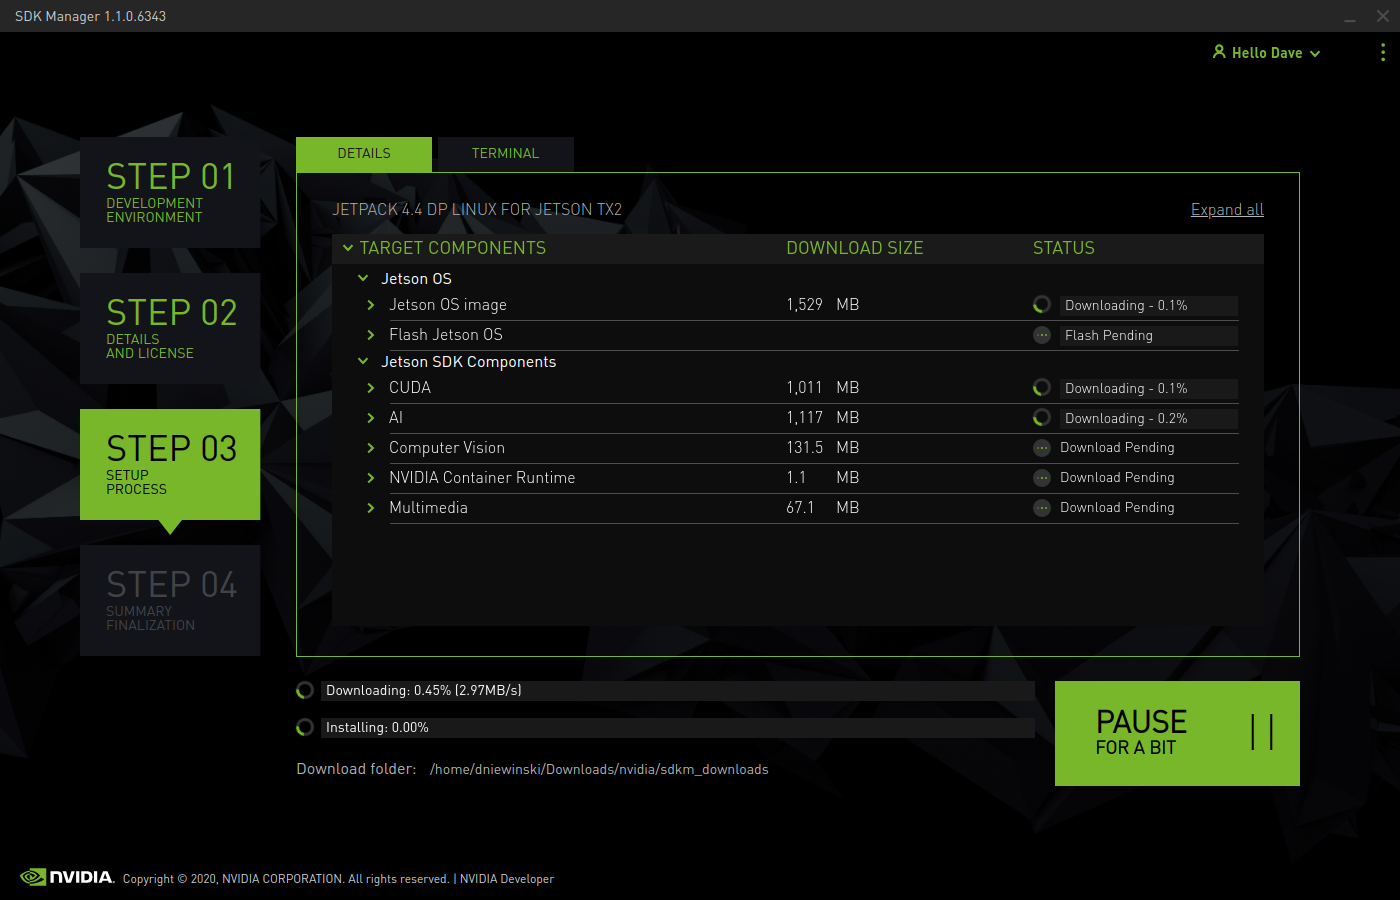
Download in progress
Step 2B: Install Image on SD Card (Nano only)
This step is not required for Jetson Xavier AGX or TX2
-
Download the latest version of the Nano SD Image.
-
Download the latest version of Balena Etcher.

Download in progress -
Use Etcher to flash the image onto your SD card.
-
Install the SD card into the Nano and power up the Nano.
Step 3: Configure the Installation
-
Make sure to plug a keyboard and monitor into the Jetson. On first boot, it will go through the usual Ubuntu setup steps. Accept the Licenses.
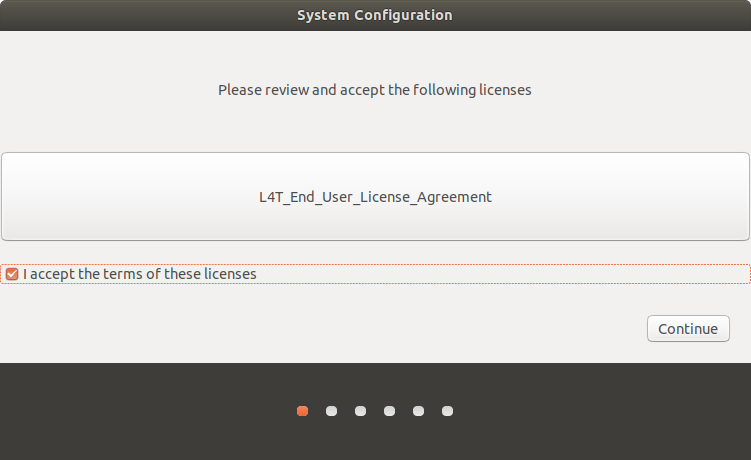
Accepting licenses -
Choose your language.
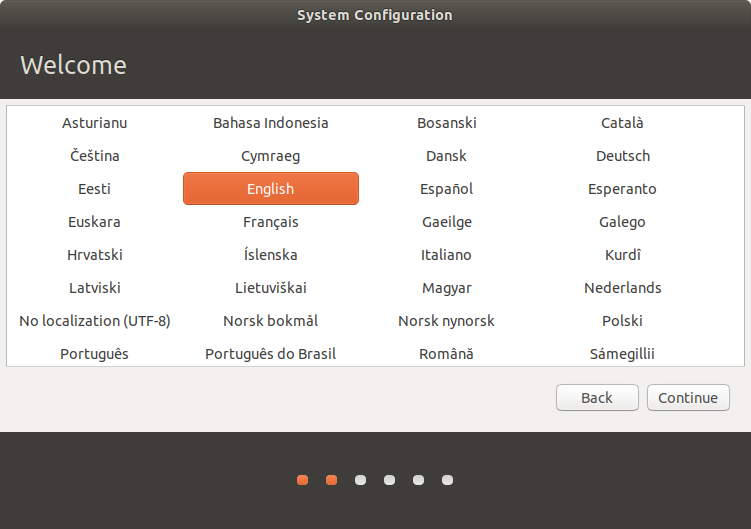
Choosing your language -
Choose your keyboard layout.
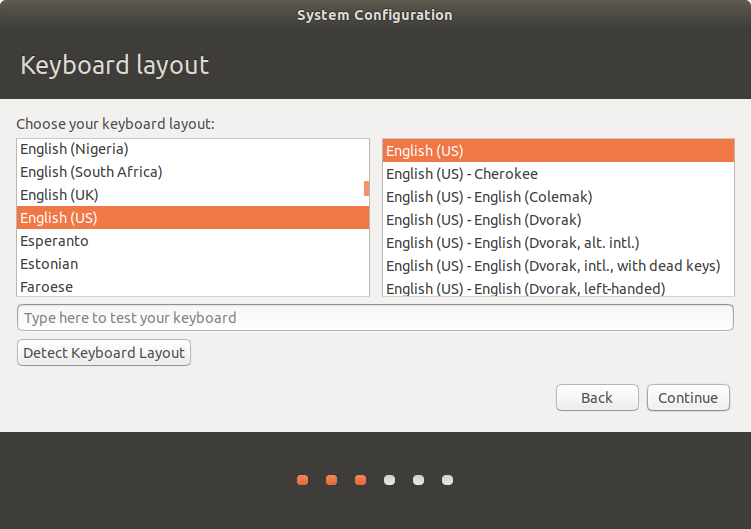
Choosing your keyboard layout -
Set your location.
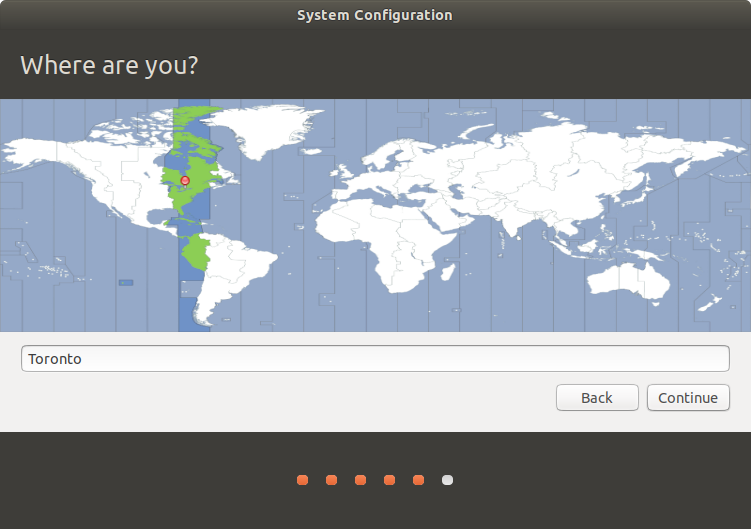
Setting your location -
Specify a hostname, username, and password for the machine.
noteFor compatibility with older versions of the Jetson software, set the username and password to
nvidia. To standardize with other Clearpath Robotics products, set the username toadministratorand the password toclearpath.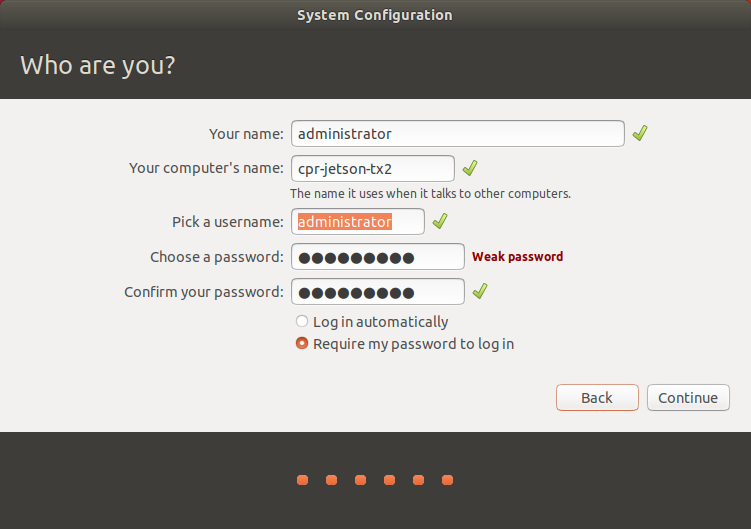
Specifying your hostname, username, and password -
(Nano only): If prompted for a partition size, use the default size, which should fill the whole SD card. Make sure it matches the maximum possible size, unless you have other plans for that space.
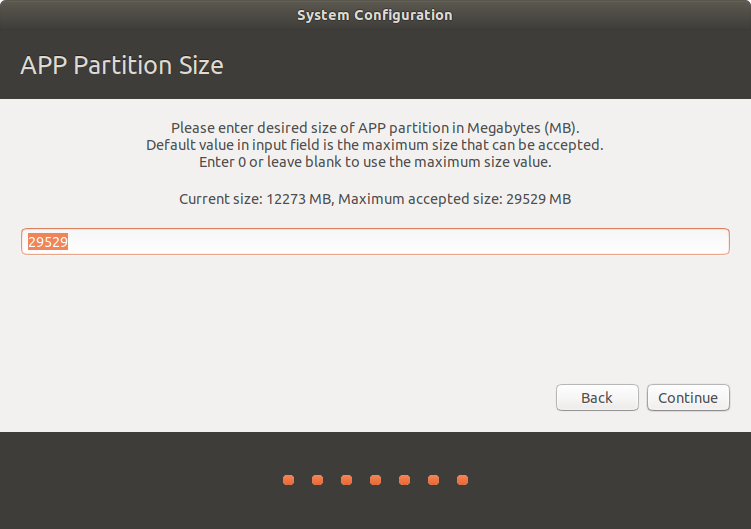
Specifying partition size (Nano only) -
Wait for the installation to install the remaining standard packages.

Waiting for remaining packages -
Once the OS is setup, you will be brought to the desktop.
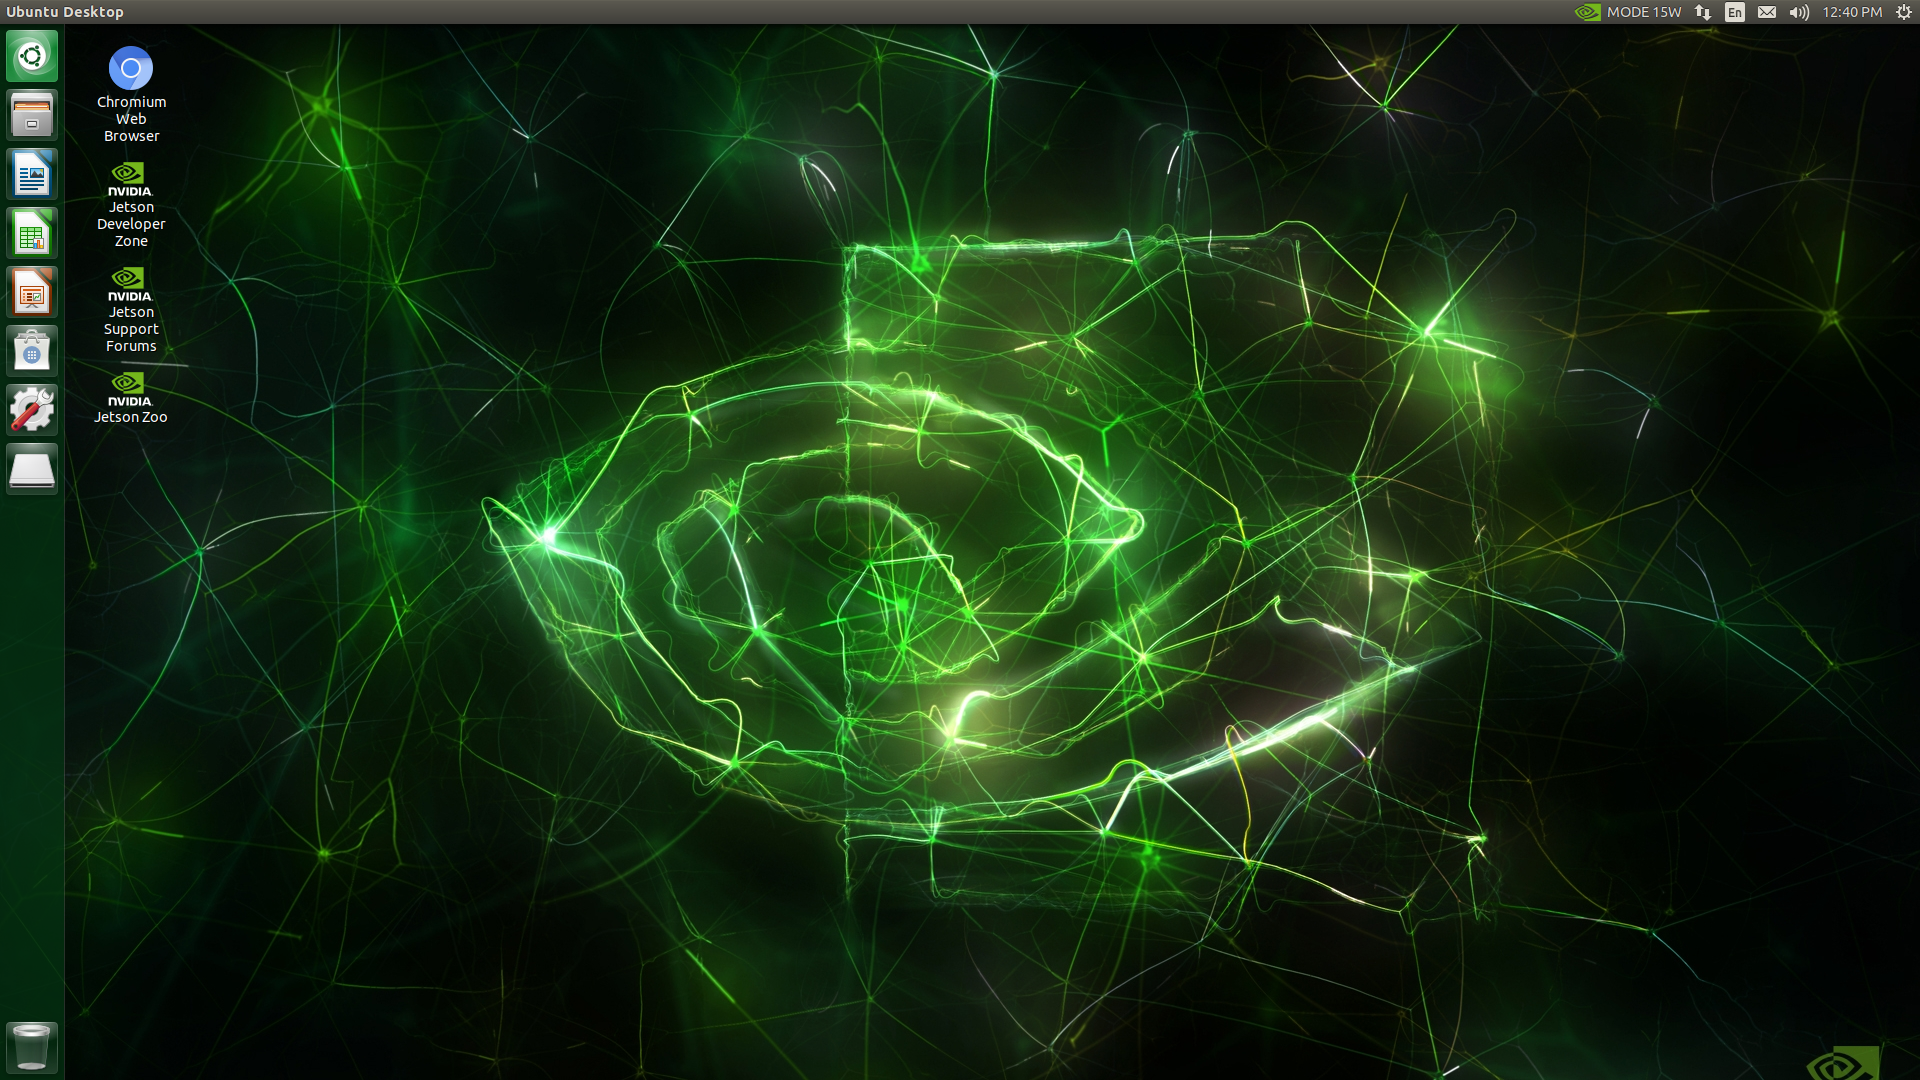
Post-install desktop -
Open a terminal and run
ifconfigorip ato see the IP address it is using. You will need to connect it to network through wireless or ethernet.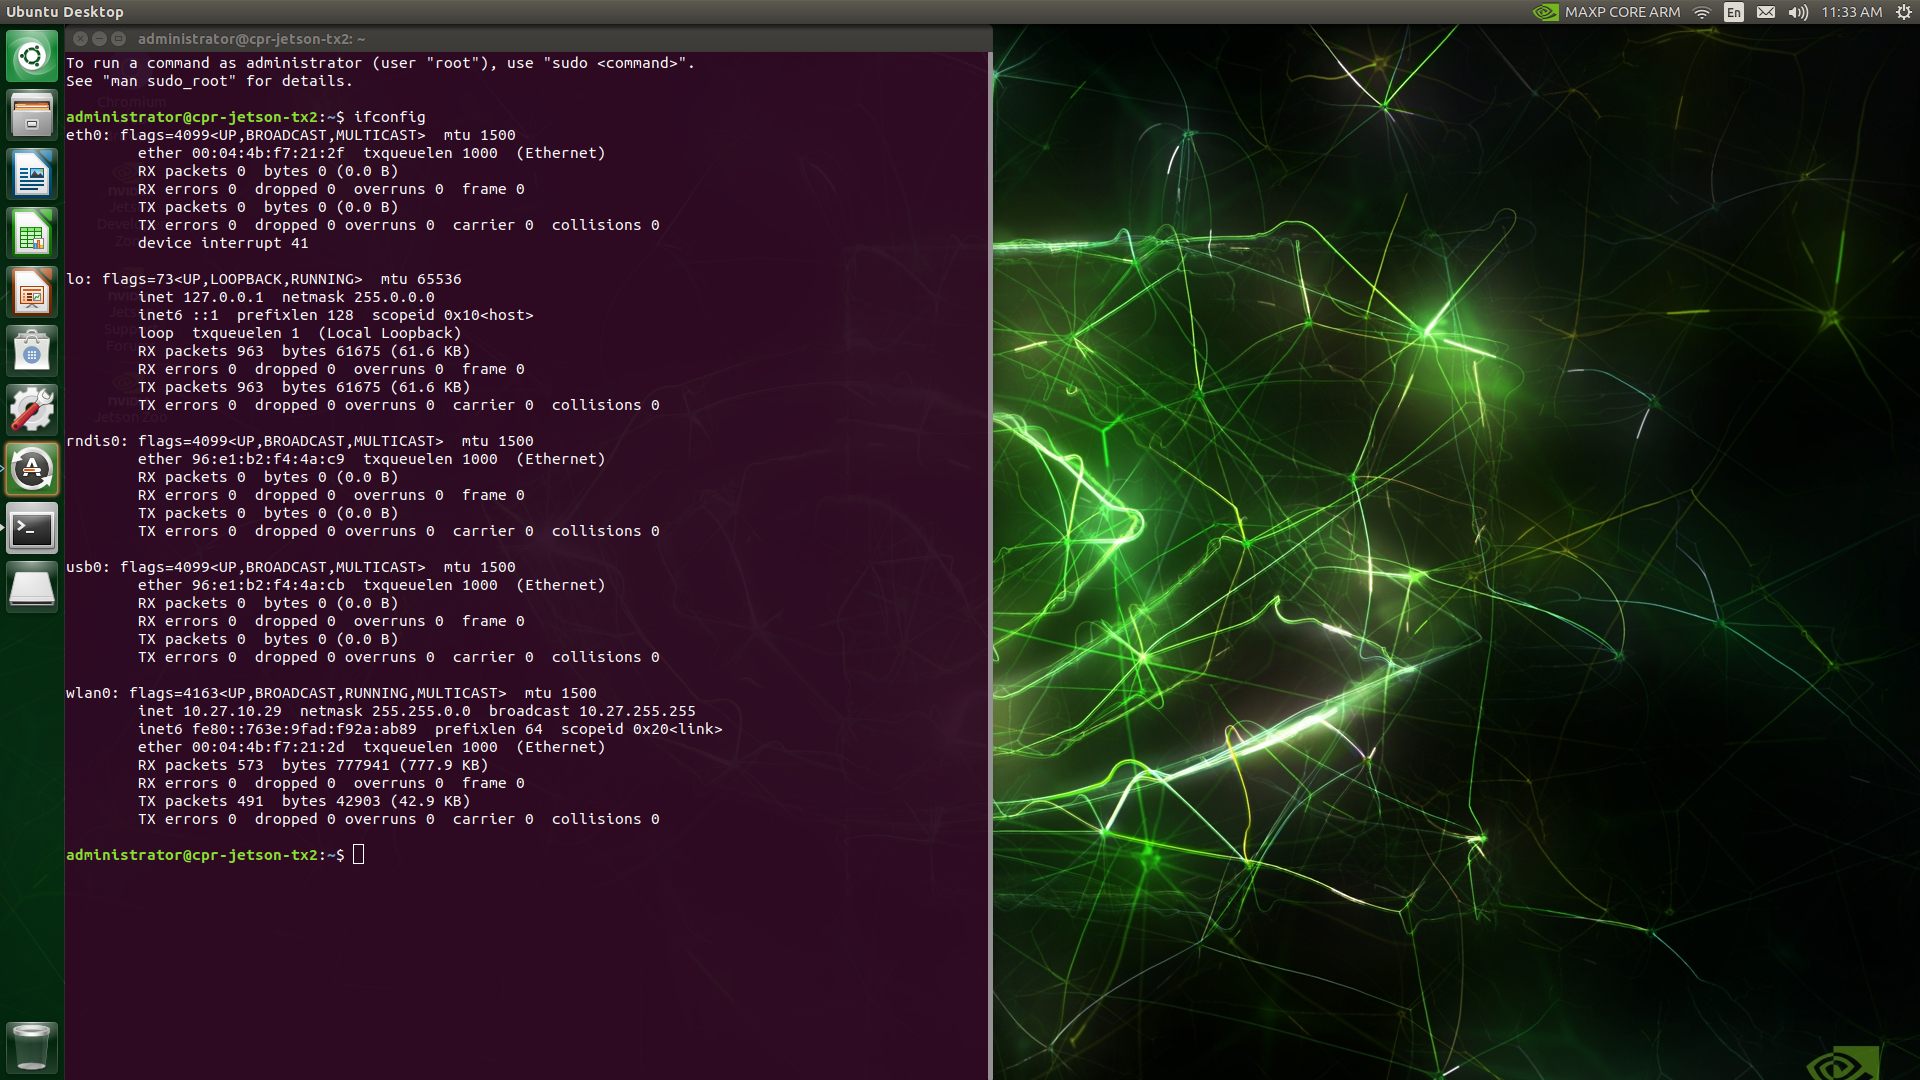
Finding the IP address
Step 4: Install Extra SDK Components (TX2 and Xavier AGX only)
This step is not required for Jetson Nano
-
Back in your host computer, it will be waiting to install the extra SDK components on your Jetson. Enter the username, password, and IP address you found above.
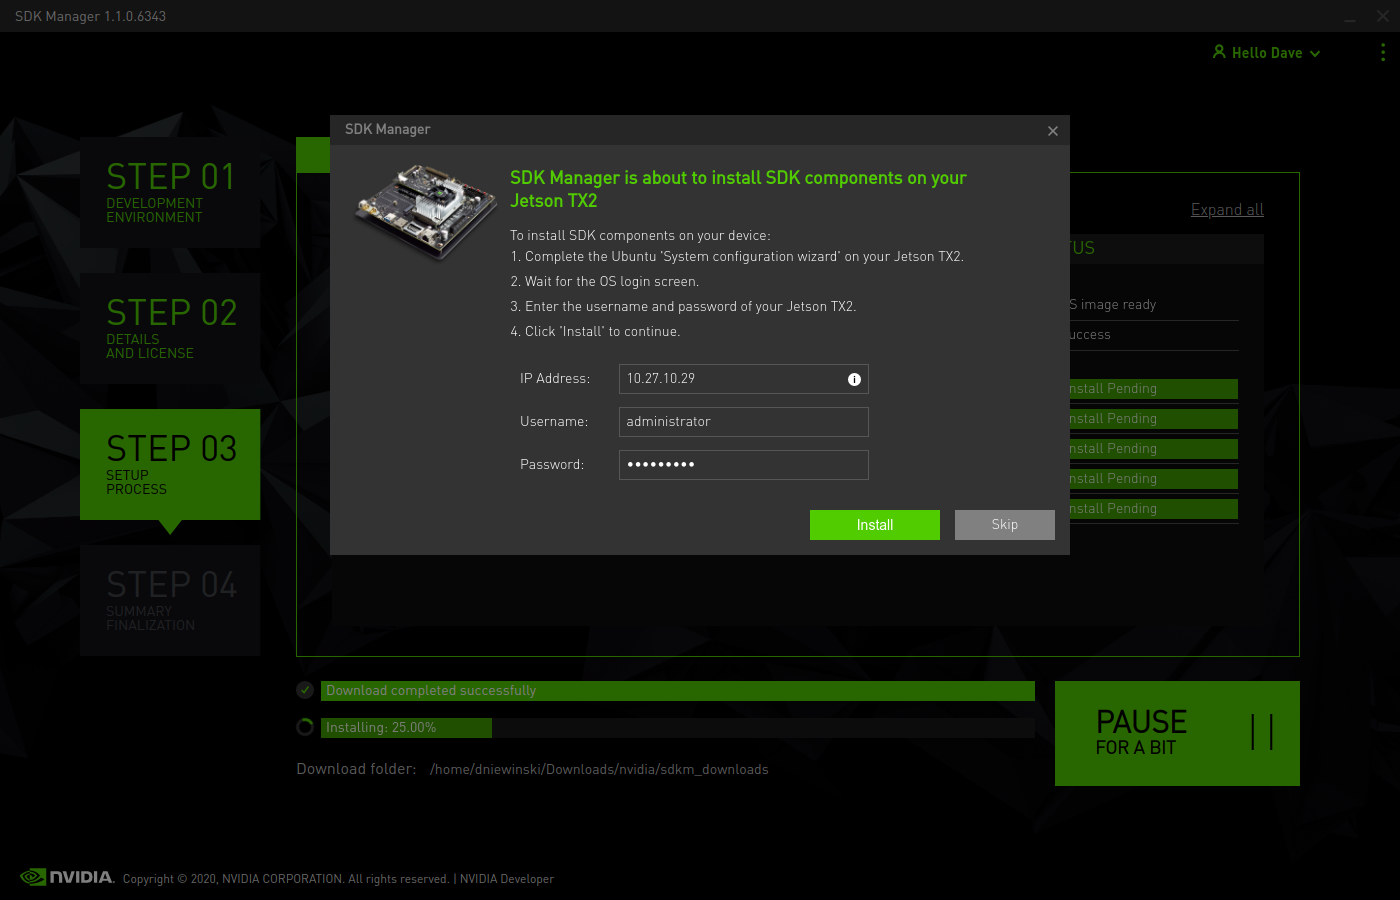
Installing SDK components -
The install will connenct to the remote Jetson over the network. It will continue the install by transferring the files and install them.
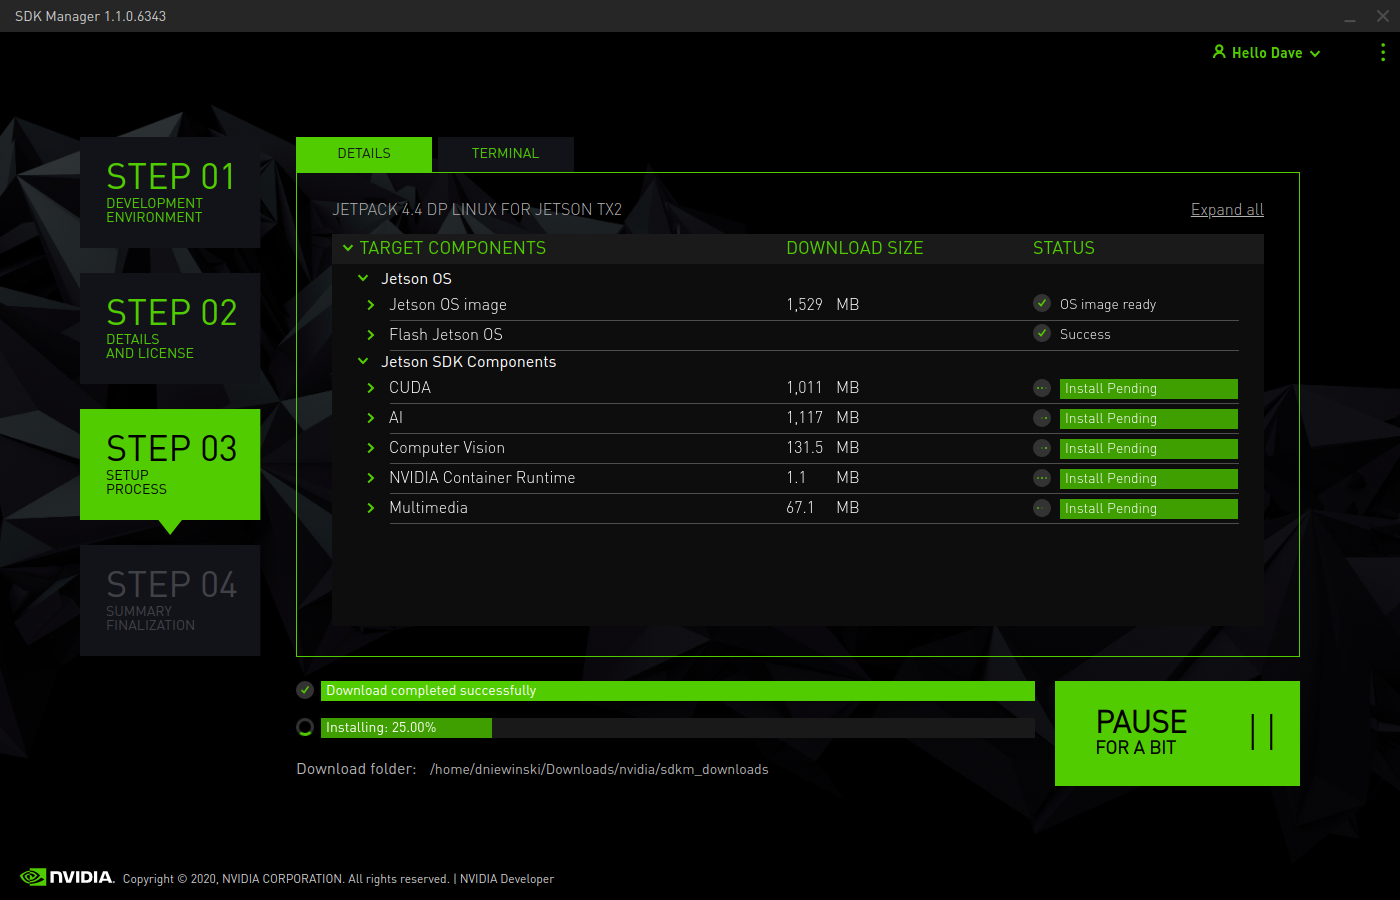
Waiting for SDK component installation -
You can check the terminal window to see the progress of individual commands. This process will take a while, so it can be nice to verify that the process isn't stalled.
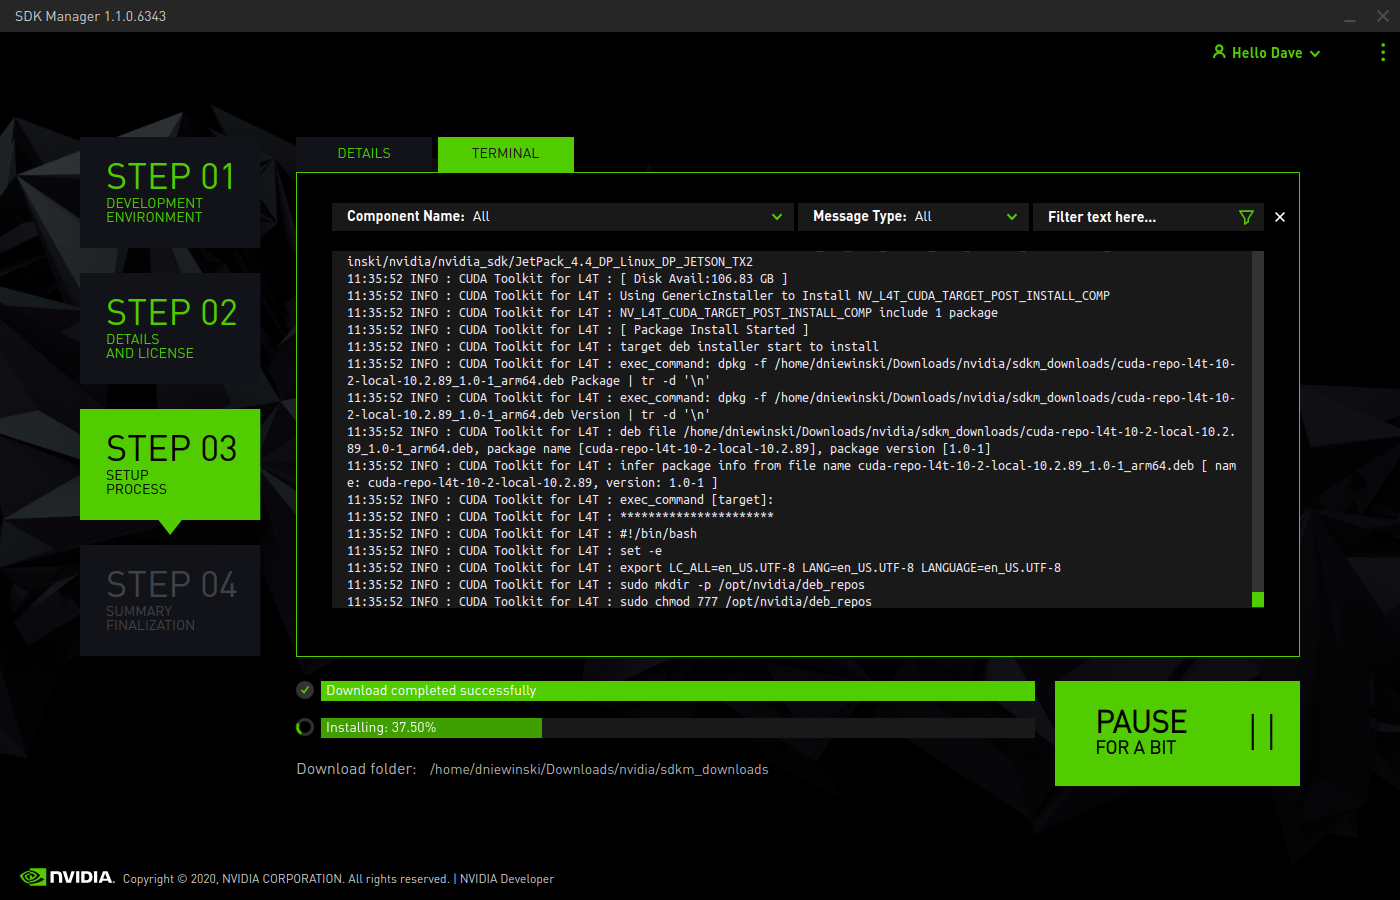
Installation terminal view -
Once the process is done, you can click FINISH to close the window.
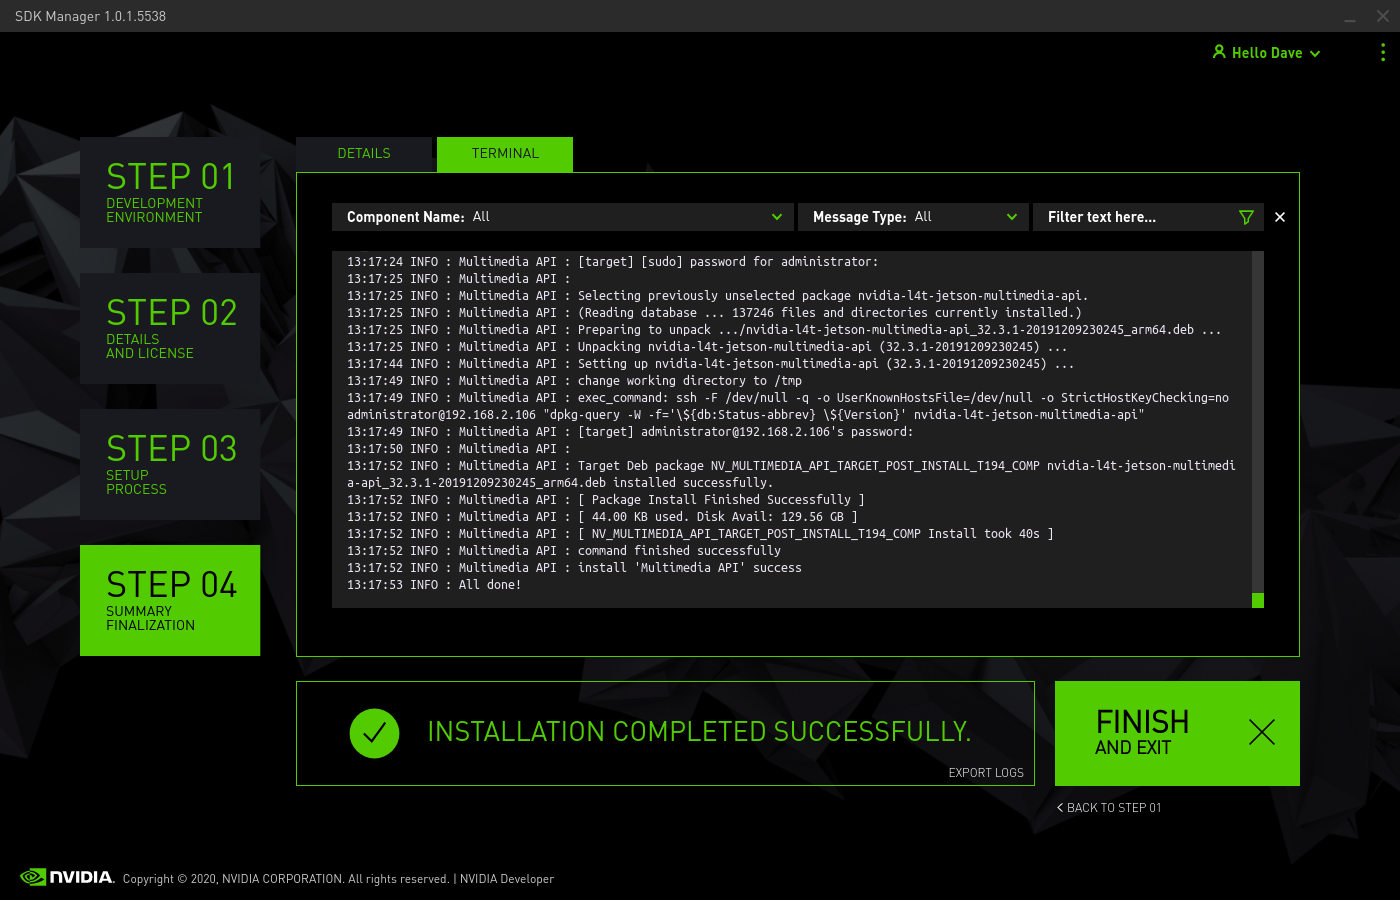
Installation complete
Step 5: Configure for Use with your Clearpath Robot
-
Once the OS has been written to the Jetson, log into it and run the following commands to configure it for use with your Clearpath robot:
wget -c https://raw.githubusercontent.com/clearpathrobotics/ros_computer_setup/main/install.sh && bash install.shnoteIf
curlis not installed on your Jetson by default you can install it by runningsudo apt-get install curl.
ROS Computer Setup These commands will download and install ROS along with the necessary
aptpackages to get your robot up and running. Depending on your network speed it may take a long time for everything to install. Reboot the Jetson after these commands are done to complete the configuration. -
When the Jetson starts up again, it should be connected to the robot. To see that the robot is connected by opening a terminal and executing
rostopic echo /status. You should see a 1 Hz message containing the robot's diagnostic information.Your Jetson should now be configured to operate as the robot's main computer.
Step 6: Pair a PS4 Controller with your Clearpath Robot (Optional)
This step is optional.
See instructions here for how to pair the PS4 controller.
Step 7: Use Offboard Computer with Jetson (Optional)
This step is optional.
To use your Offboard Computer (for example laptop) with the Jetson, note the IP address of the Jetson, and install the robot-specific desktop packages on the Offboard Computer. Refer to the "Installing Offboard Computer Software" section of your robot User Manual for details.