Jetson Xavier AGX Hardware in Husky
Installation
This page outlines the steps for installing the Xavier AGX hardware in Husky. See also the instructions for installing the Jetson software.
Step 1: Remove Mini-ITX Computer
Skip this step if you don't have an existing computer.
If you have a Mini-ITX computer installed it will need to be removed. Locate the power and communication cable connected to the computer and remove them. If you have any other sensors attached, remove those too. Keep them connected to the Husky plaform.

Disconnecting cables Remove the 4 hex screws from the computer case using a 2.5 mm wrench.
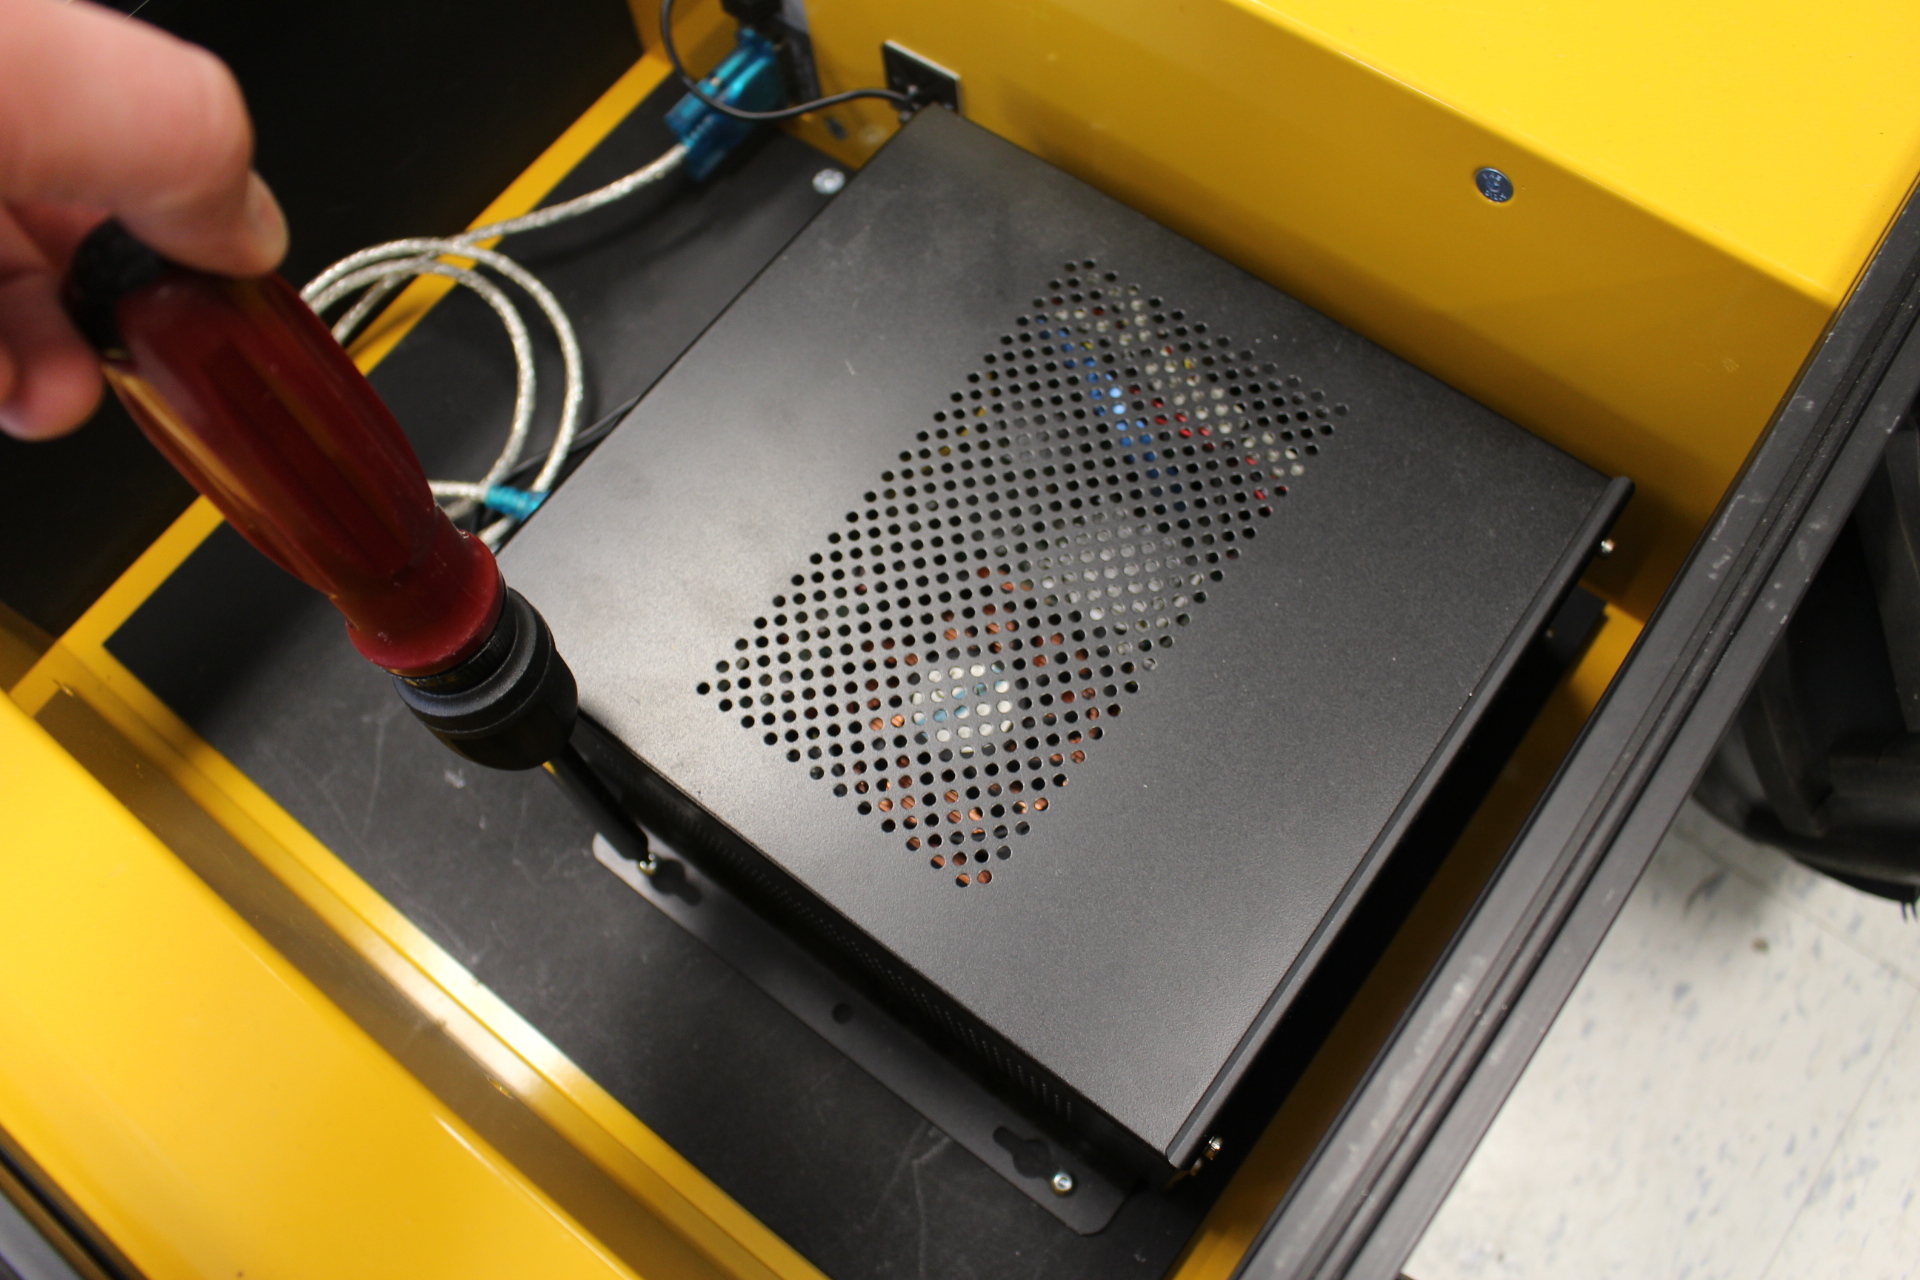

Removing hex screws Gently lift the computer out of the platform and clean the area.
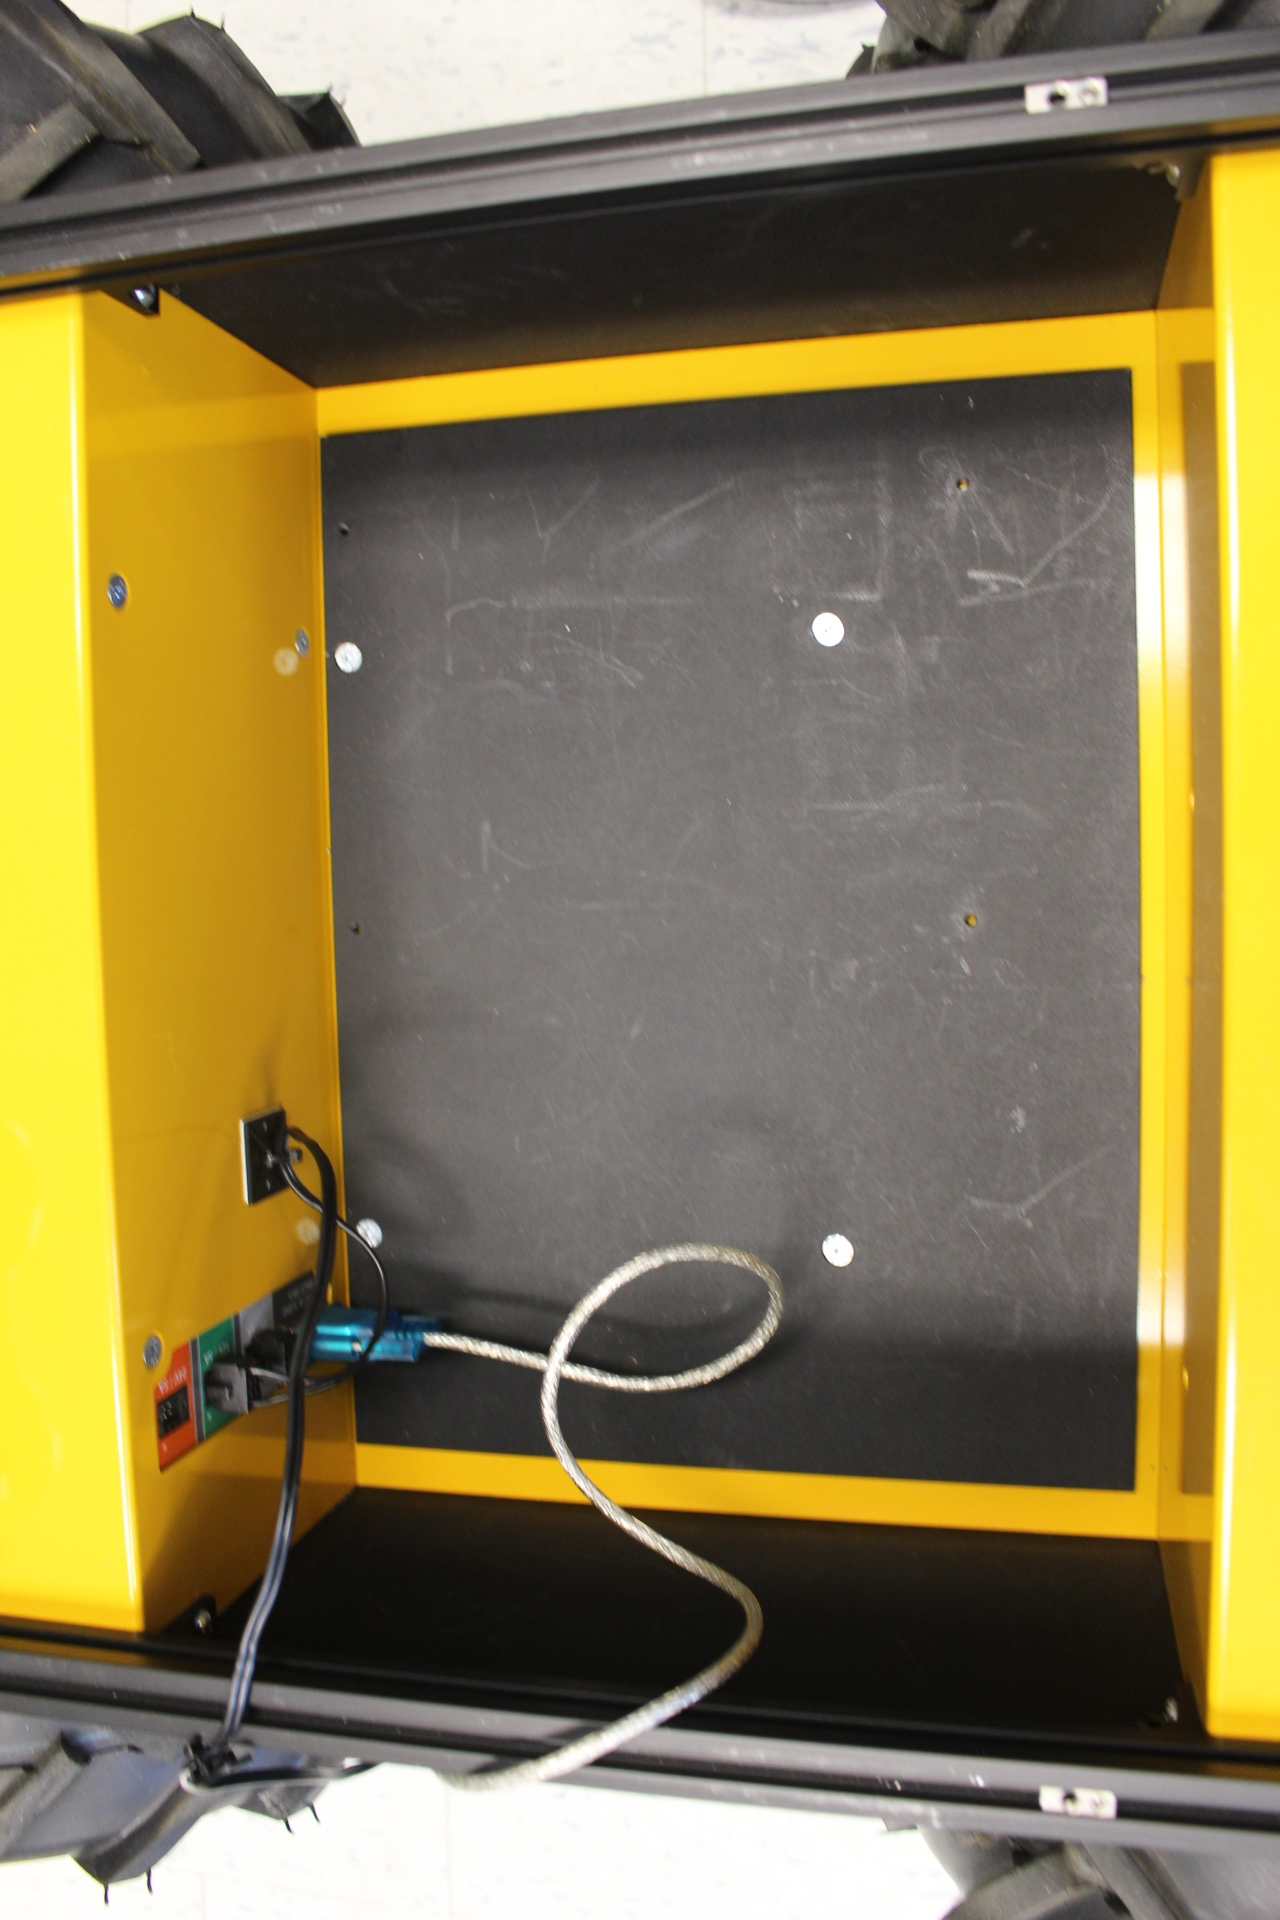
Removing computer
Step 2: Install the Xavier AGX
Custom mounting brackets are available on Github.
Print this mount off using a 3D printer. A 0.2 mm layer thickness should be sufficient.
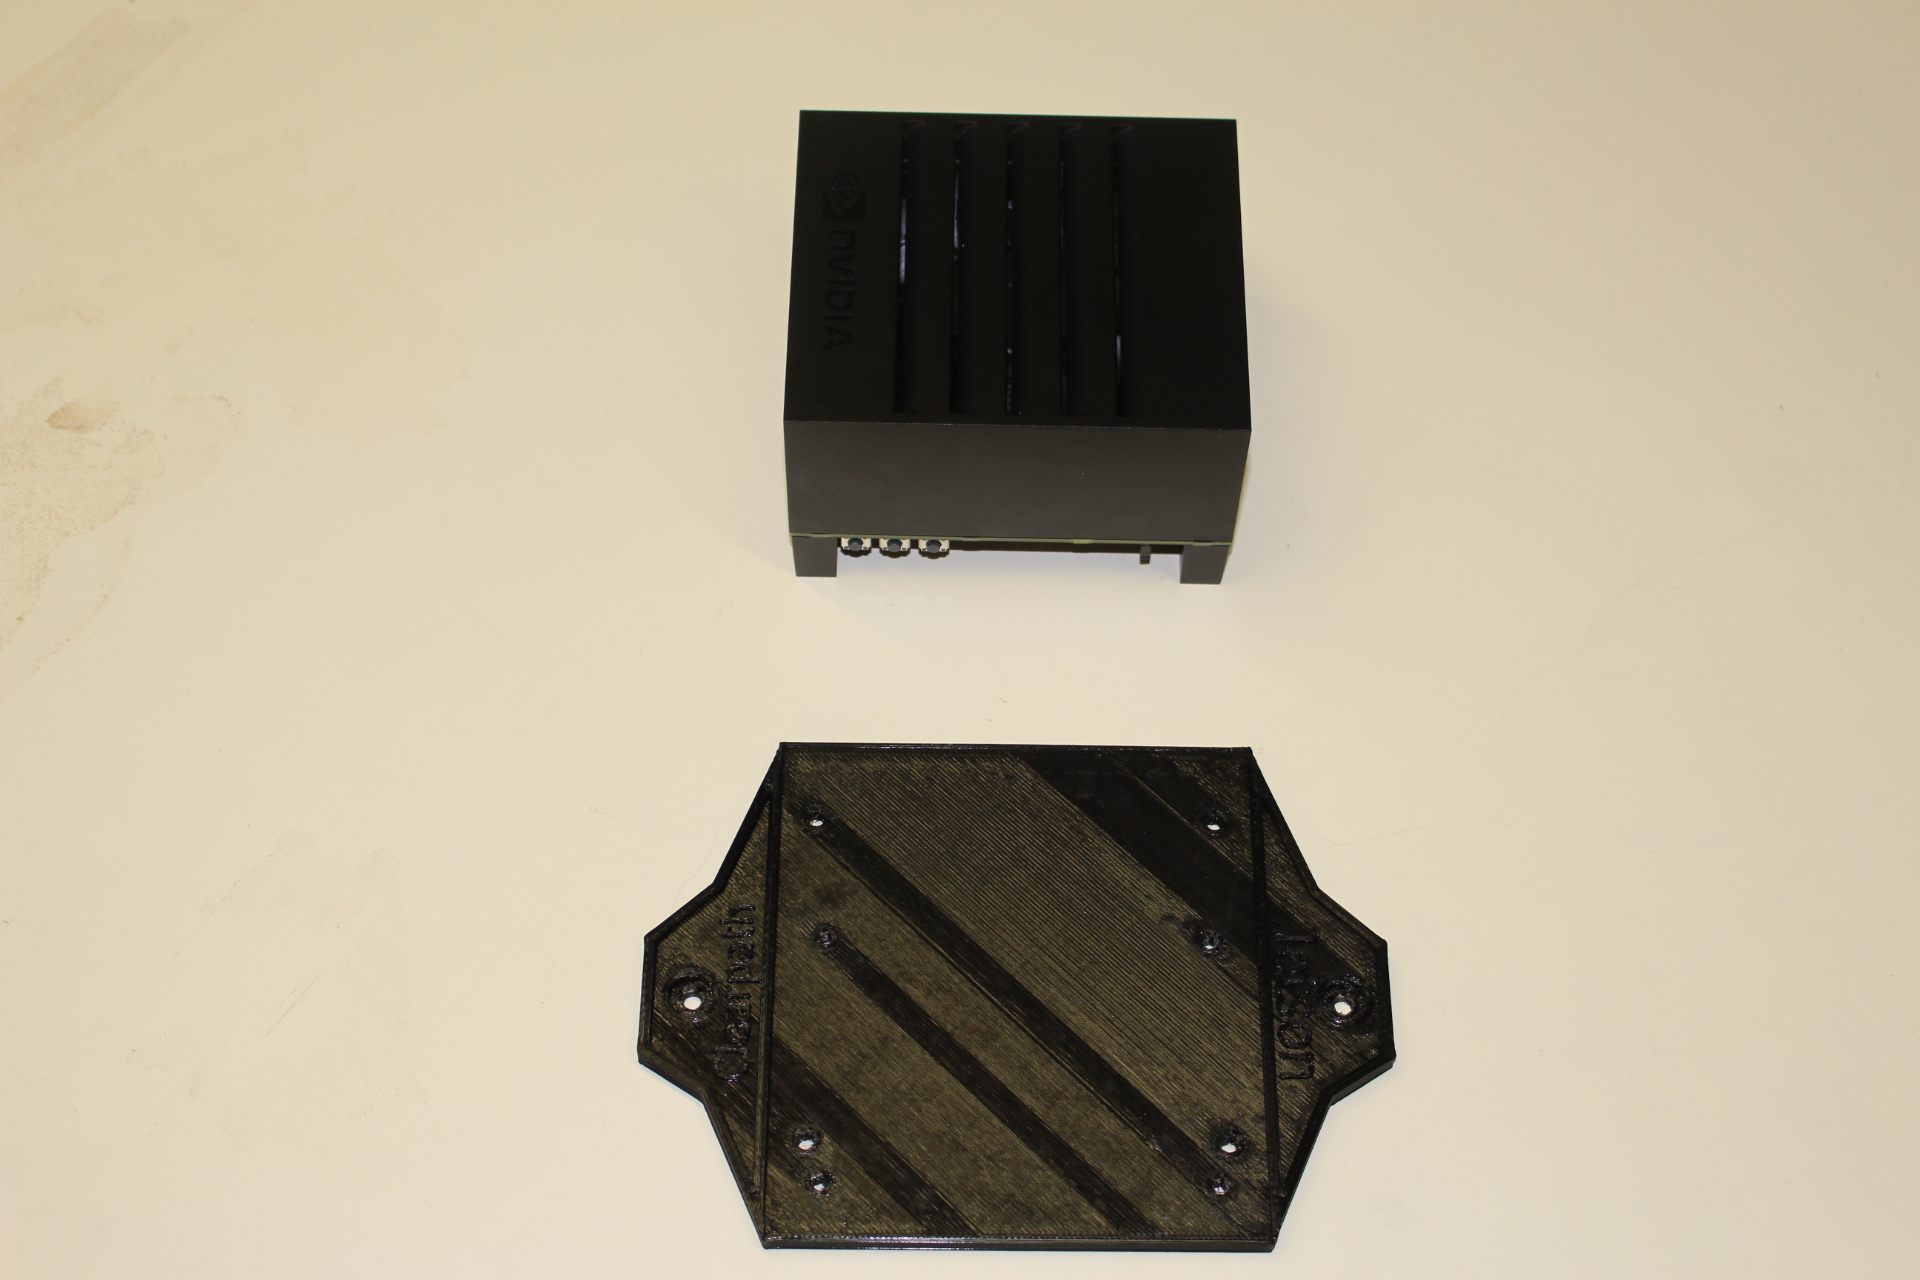
Removing the support feet Use an allen wrench to remove the support feet from the bottom of the Xavier board by removing the M3 bolts. Place the feet on the 3D printed mount.
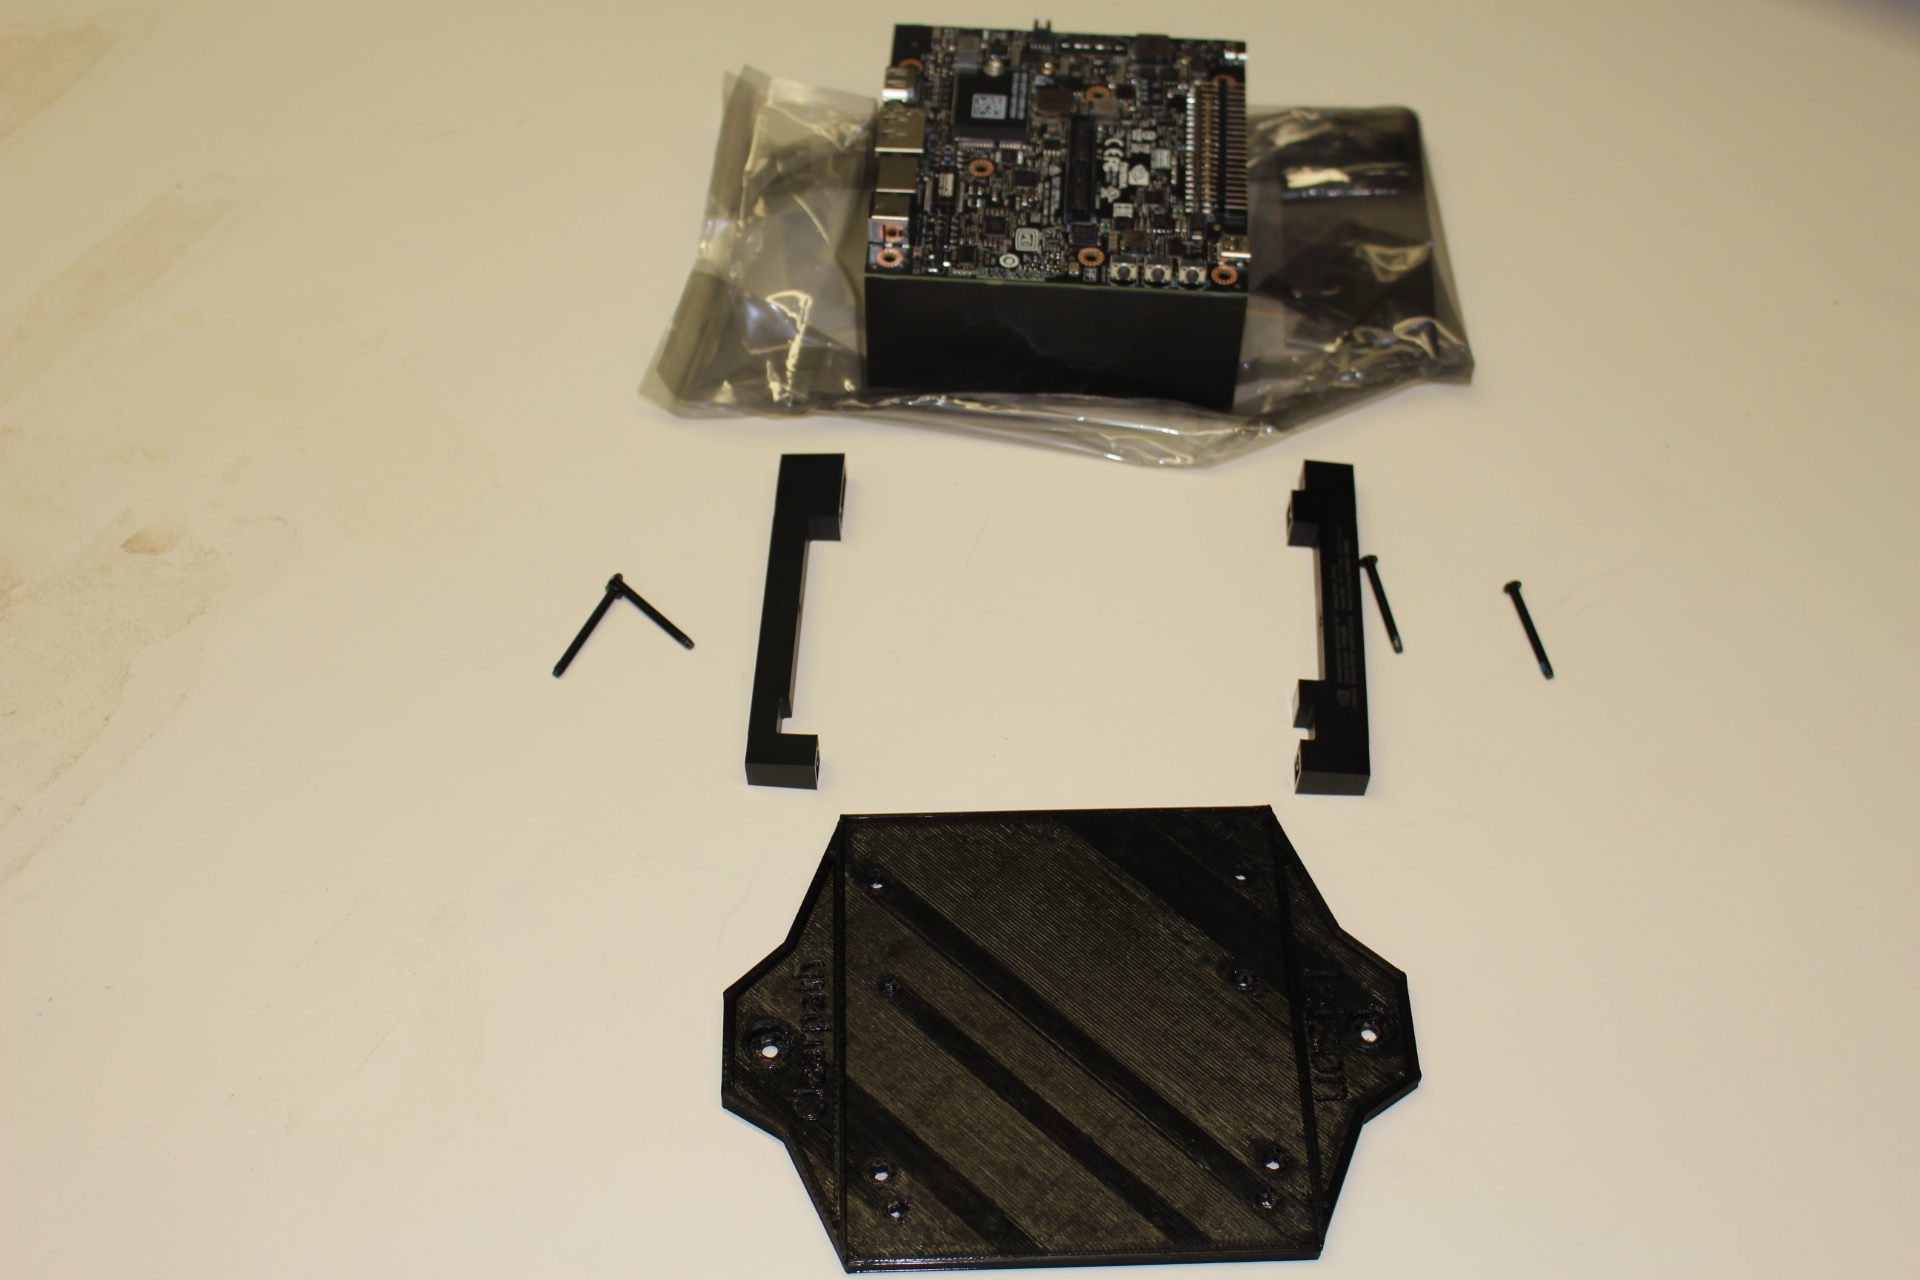
Removing the support feet Attach the Xavier to the mount using four M3 x 40 screws through the bottom of the mount in the holes for Xavier.

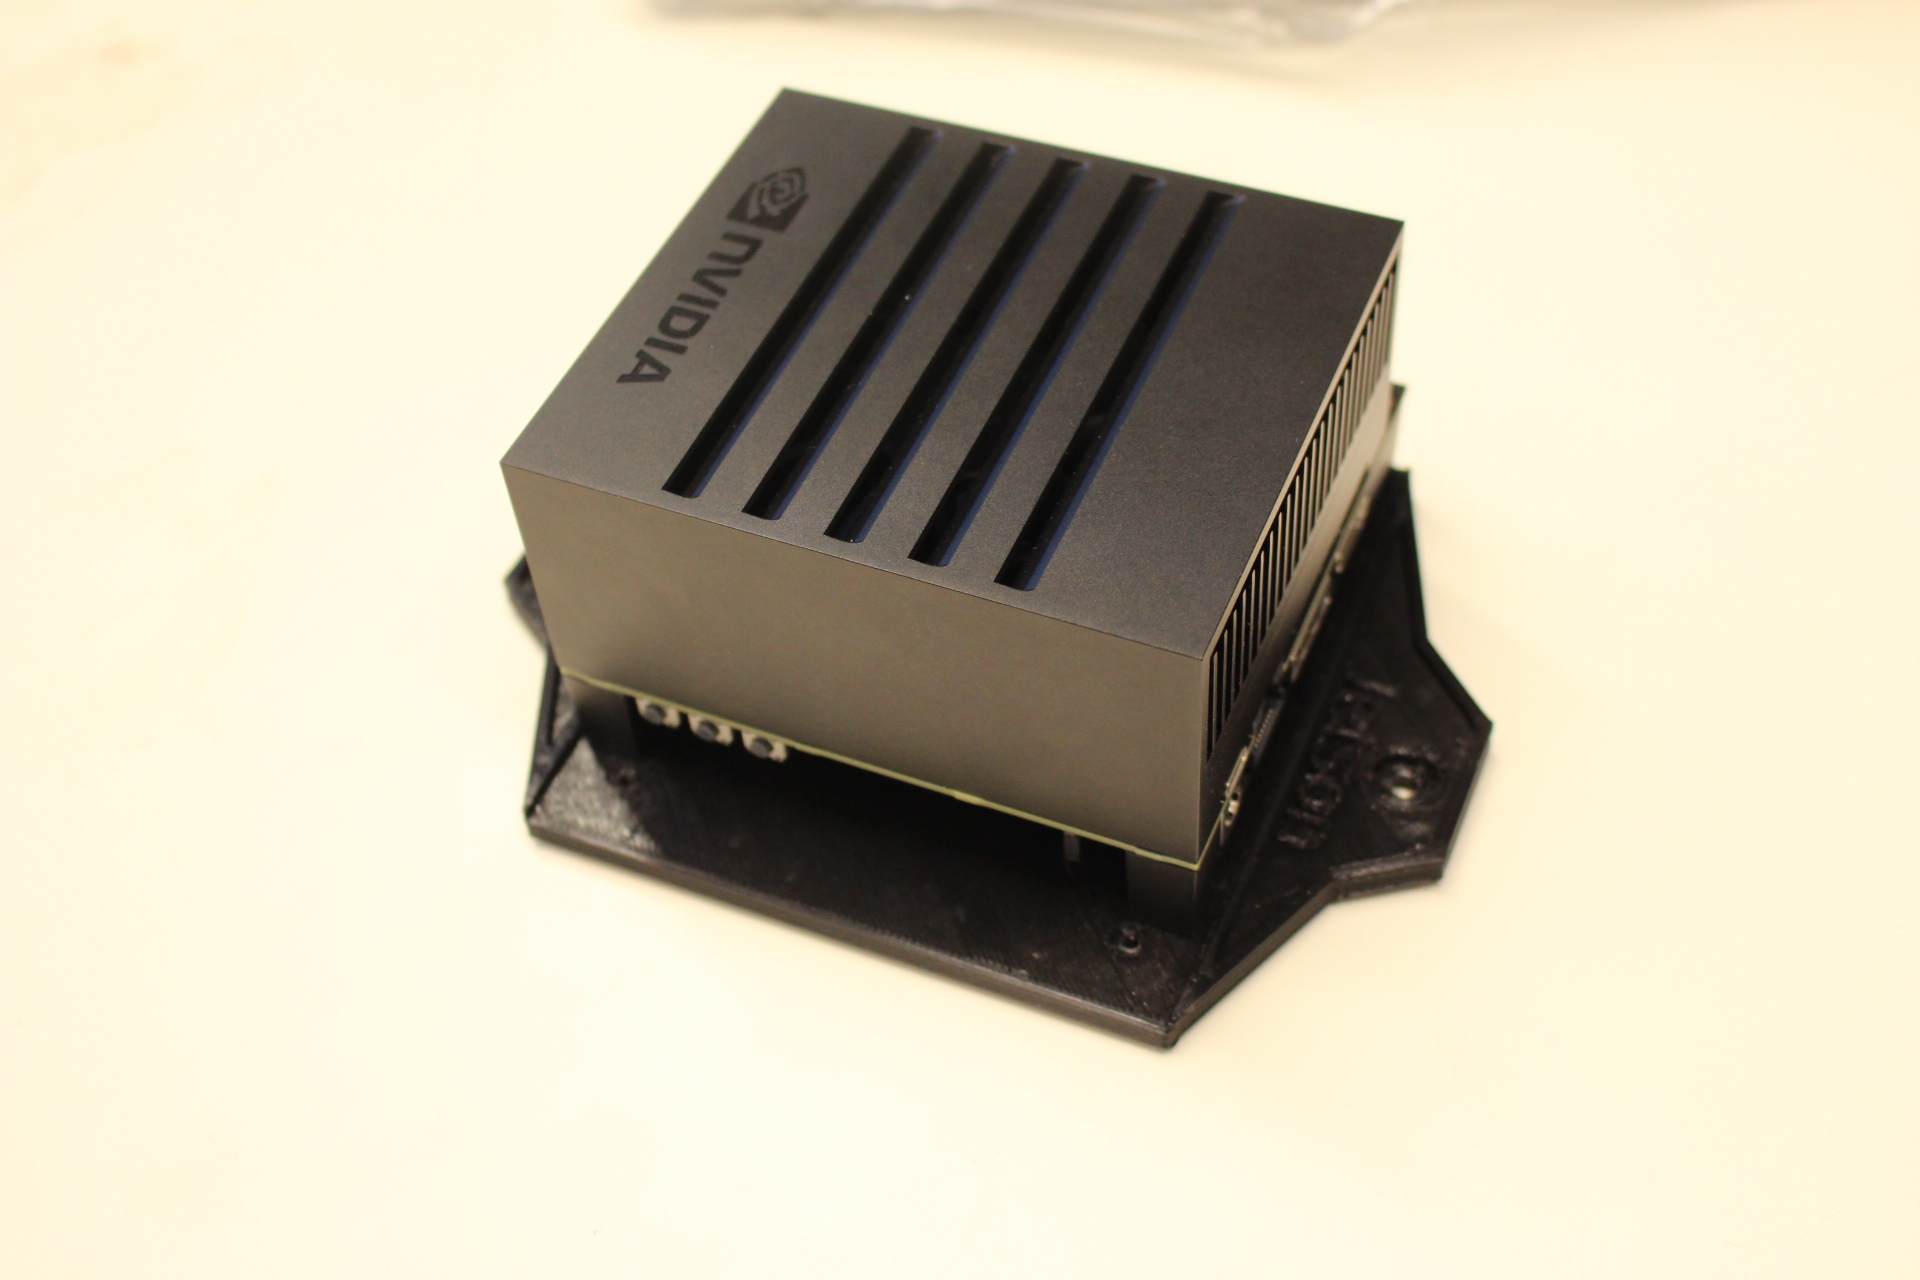
Attaching Xavier to the mount Attach the Xavier and mount to the two M3 holes opposite the platform serial connector.
Re-attach the power and serial cables from the platform to the Xavier.
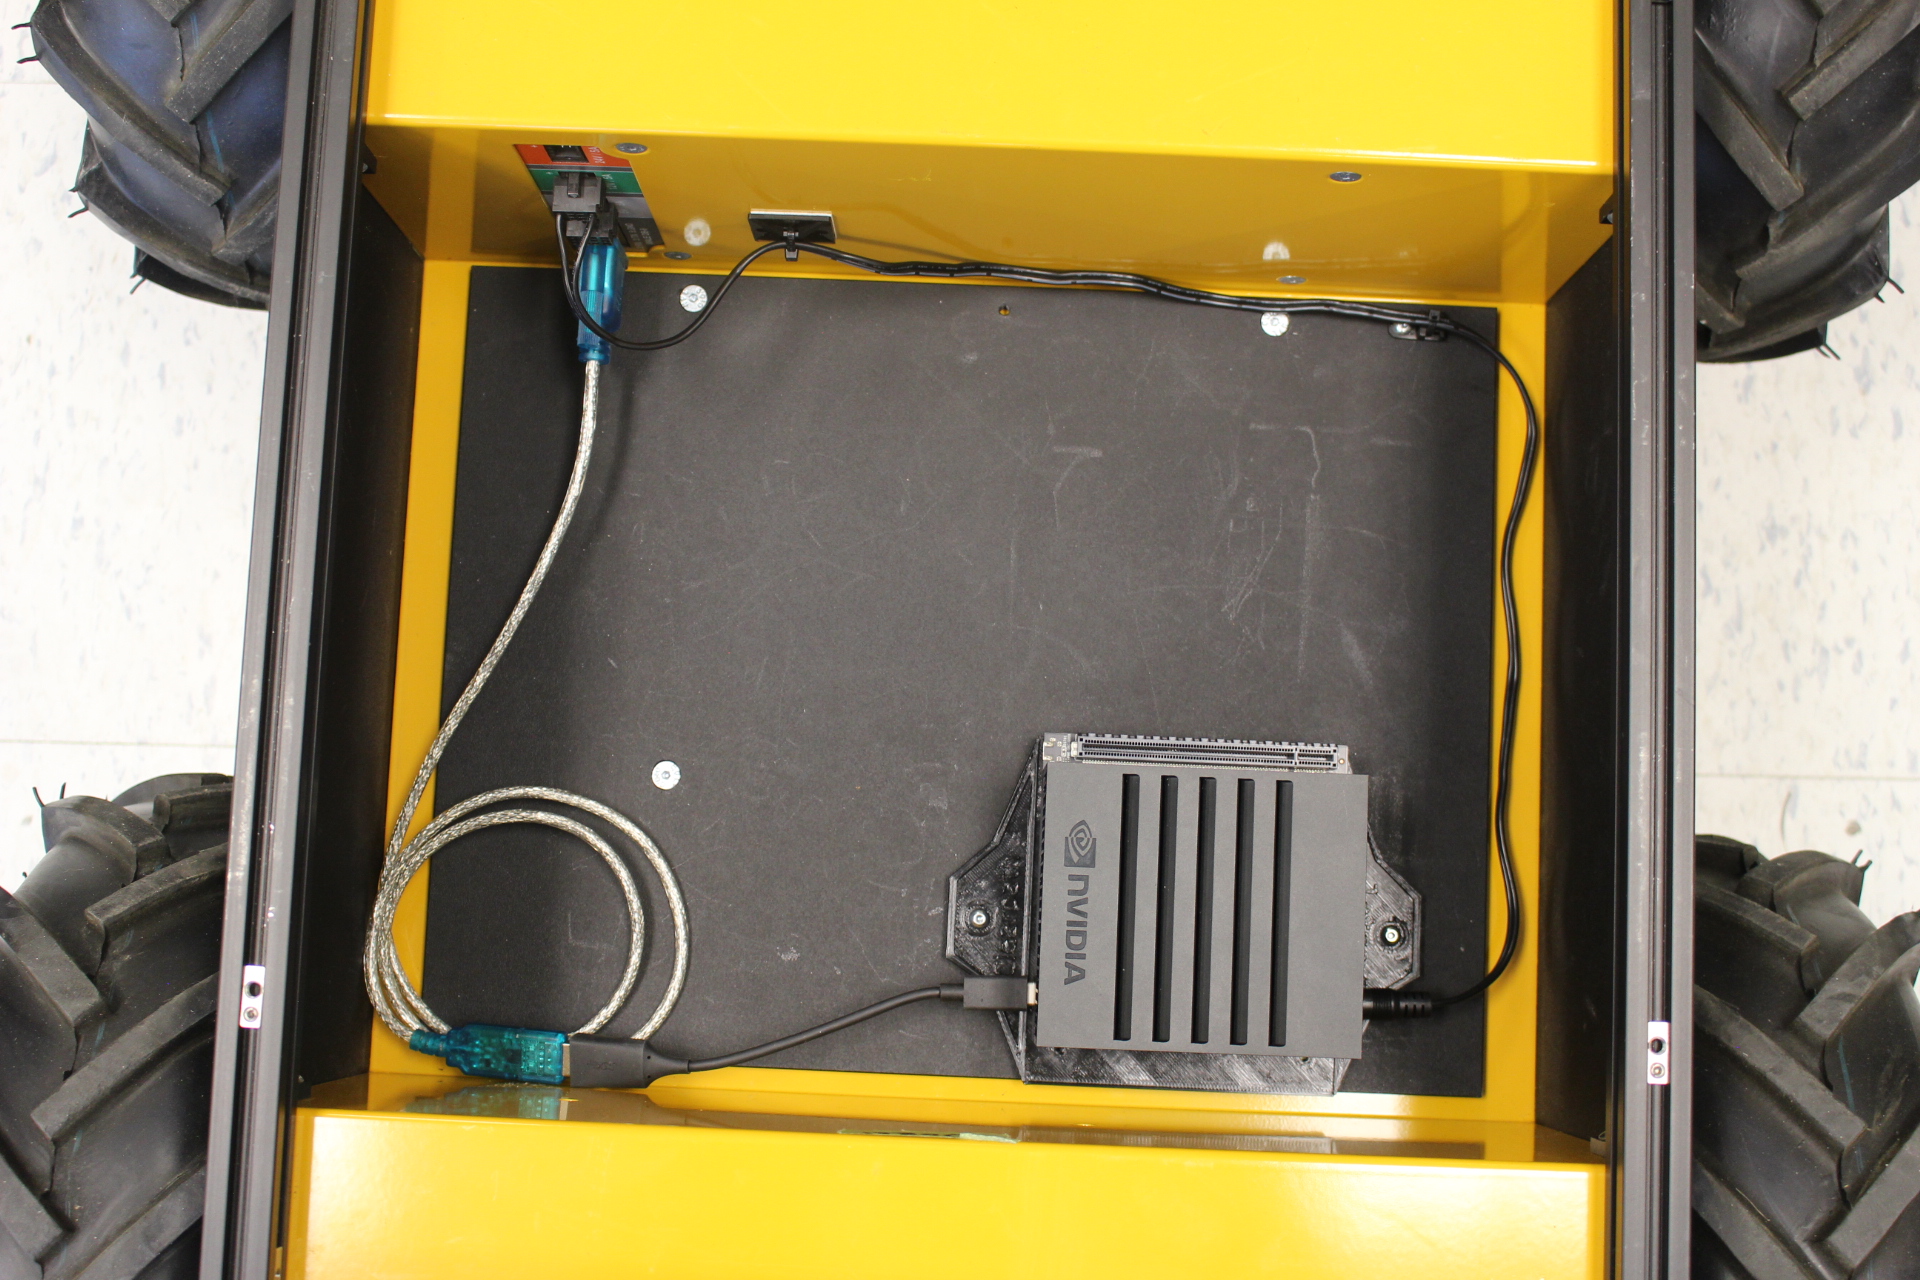
Attaching the cables