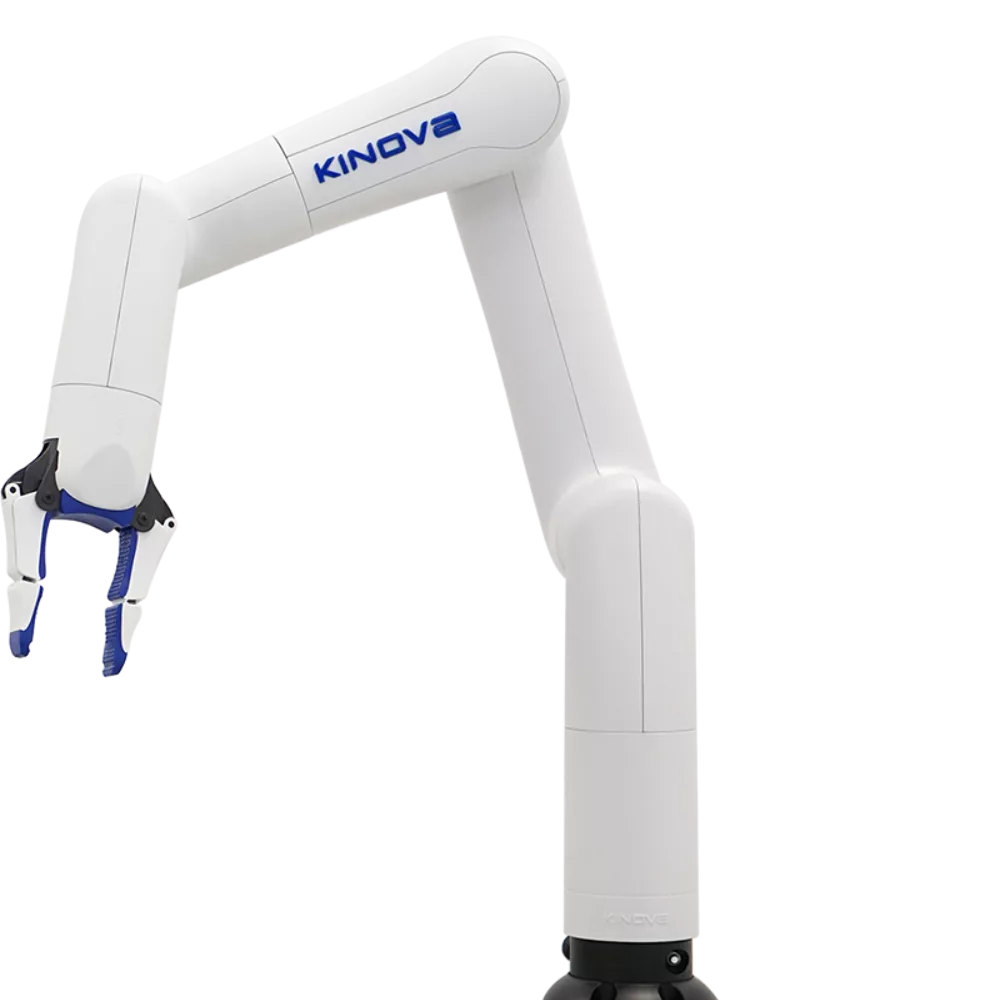
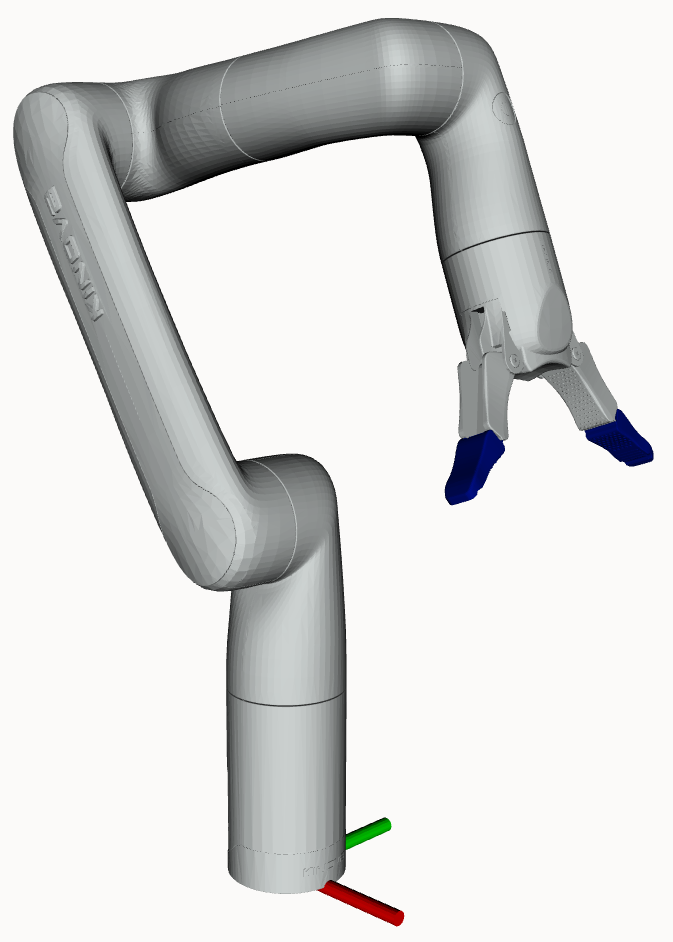
Kinova Gen3 Lite
Item Numbers
| Description | CPR Item |
|---|---|
| Kinova Gen3 lite Bundle | 022586 |
| Kinova Gen3 lite, PACS™ kit | 027219 |
Specifications
Overview
| Description | Value |
|---|---|
| Mass | 5.4 kg |
| Voltage, Minimum | 21 V |
| Voltage, Maximum | 30 V |
| Voltage, Sensor | 24 V |
| Power, Average | 20 W |
| Power, Peak | 100 W |
| Data | Ethernet, 100 Mbit/s |
| Reach | 760 mm |
| Payload | 0.5 kg |
| Speed | 250 mm/s |
| Range | ±155° |
| Ingress Protection, Solids | 2 |
| Ingress Protection, Liquids | 2 |
| Operating Temperature, Min | 0°C |
| Operating Temperature, Max | 40°C |
IP addresses
| Description | IP address |
|---|---|
| Default from Manufacturer, USB - USB | 192.168.1.10 |
Hardware Build
Parts List
The PACS™ kit for this sensor includes:
| ID | Description | CPR Item | Quantity |
|---|---|---|---|
| 1 | Plate—80 X 80, Attachment Interface | 026914 | 1 |
| 2 | Manipulator Bundle | 022586 | 1 |
| 3 | Screw, Cap, Round Head—M6×1 X 8, Stainless Steel | 023326 | 4 |
| 4 | Spacer, Round—Ø5.3 X Ø8 X 7, Aluminum Alloy | 026612 | 4 |
| 5 | Screw, Cap, Round Head—M5×0.8 X 16, Stainless Steel | 023257 | 4 |
Instructions
- Remove the Kinova arm from it's packaging.
- There is a Quick Connect Mounting Knob on the bottom of the arm. You will need to remove this to mount the arm to the PACS™ bracket. Hold the Mounting Knob's square body using an adjustable wrench. Then use a hex key to turn the Mounting Knob's screw counerclockwise. Then remove the Mounting Knob from the arm.
- Refer to the attachment-plate's (ID 1) drawing 026914. The notes indicate which holes are for the Kinova arm. You will need to enlarge the four holes to Ø6.3 mm with a drill.
- Mount the arm (ID 2) to the attachment-plate (ID 1) using four M6×1 screws (ID 3).
- Mount this assembly onto your robot, using the included spacers (ID 4) and screws (ID 5).
Software Bringup
ROS 2 Configuration
This manipulator is included in the Clearpath Robotics descriptino and robot package that is installed on all of our robots. This allows you to add or remove manipulator from your robot's software configuration by modying the robot configuration yaml.
 | |
Package and Setup
The Kinova Gen3 Lite uses the kortex_description and kortex_driver ROS 2 Packages. The driver is open source, maintaned by Kinova Robotics, and hosted on GitHub.
For more specifics on the way Clearpath's configuration system adds the manipulator to the robot description, see the Kinova Gen3 Lite description file in clearpath_manipulators_description.
Device IP and Port
The ip and port parameters must be set to the corresponding values set on the manipulators configuration page.
 | |
Package and Setup
The Kinova 2F Lite gripper is the standard gripper on the Kinova Gen3 Lite. It is controlled via the arm's hardware interface and therefore, does not need it's own controller.
The Kinova 2F Lite gripper uses the kortex_description and kortex_driver ROS 2 Packages. The driver is open source, maintaned by Kinova Robotics, and hosted on GitHub.
For more specifics on the way Clearpath's configuration system adds the manipulator to the robot description, see the Kinova 2F Lite gripper description file in clearpath_manipulators_description.
Networking, with netplan
The Kinova Gen3 lite does not let you change its static IP address. Its address is always 192.168.1.10. when you connect using a USB - USB cable.
You will need to extend the network bridge to the 192.168.1.x subnet to interface with the Kinova Gen3 lite arm.
Open the netplan configuration file with /etc/netplan/50-clearpath-bridge.yaml.
You will be adding a bridgeusb section to the file, and an additional _192.168.1.1/24 address to the network bridge.
Your file should look like this:
network:
  version: 2
  renderer: networkd
  ethernets:
    bridge_en:
      dhcp4: no
      dhcp6: no
      match:
        name: en*
    bridge_eth:
      dhcp4: no
      dhcp6: no
      match:
        name: eth*
    bridge_usb:
      dhcp4: no
      dhcp6: no
      match:
        name: usb*
  bridges:
    br0:
      dhcp4: yes
      dhcp6: no
      interfaces: [bridge_en, bridge_eth, bridge_usb]
      addresses:
        - 192.168.131.1/24
        - 192.168.1.1/24
Close and save the file be pressing ctrl + x, then typing y, and pressing Enter.
Now apply your new netplan changes by running sudo netplan apply.
You can test the netplan settings by pinging the robot's computer, and pinging the Kinova arm:
ping 192.168.131.1
ping 192.168.1.10
If you cannot ping the computer or arm, try rebooting and replugging the Kinoca Gen3 lite arm before reviewing your installation steps.
Troubleshooting
Arm is not turning on
- Turn off the robot.
- Remove the Kinova's circular power connector.
- Turn the robot back on.
- Use a multimeter to check that the voltage is 24 V between:
- Position 2 and Position 3
- Position 5 and Position 8
- If you are not reading 24 V, then:
- An upstream connector may not be fully seated.
- A fuse may be blown.
- A power supply may have failed.
If the Issue Persists
Clearpath is committed to your success. Please get in touch with us and we will do our best to get you rolling again quickly: <support@clearpathrobotics.com>.
To get in touch with a salesperson regarding Clearpath Robotics products, please email <research-sales@clearpathrobotics.com>.
If you have an issue that is specifically about ROS and is something which may be of interest to the broader community, consider asking it on Robotics Stack Exchange. If you do not get a satisfactory response, please ping us and include a link to your question as posted there. If appropriate, we will answer on Robotics Stack Exchange for the benefit of the community.