Full Riser
Sales Kits
| Description | Sales Kit |
|---|---|
| Kit, Riser Full—Dingo, 100 | 027032 |
| Kit, Riser Full—Dingo, 200 | 027033 |
| Kit, Riser Full—Dingo, 300 | 027034 |
| Kit, Riser Full—Dingo, 400 | 027035 |
| Kit, Riser Full—Dingo, 500 | 027036 |
Parts List
| ID | Description | CPR item | Quantity |
|---|---|---|---|
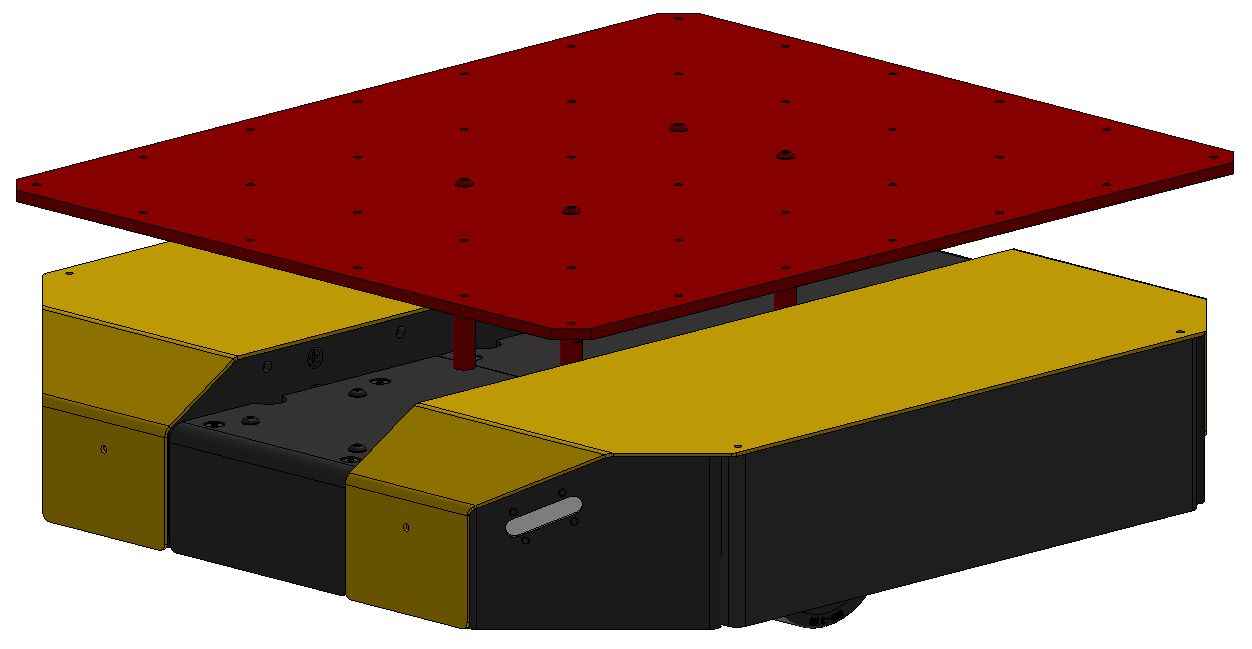
| 1 | Plate—Integration, 510 X 430 | 026909 | 1 |
| 2A | Shaft, Round—Ø12, M5 male, M5 female, 93.5 | 027041 | 4 |
| 2B | Shaft, Round—Ø12, M5 male, M5 female, 193.5 | 027042 | 4 |
| 2C | Shaft, Round—Ø12, M5 male, M5 female, 293.5 | 027043 | 4 |
| 2D | Shaft, Round—Ø12, M5 male, M5 female, 393.5 | 027044 | 4 |
| 2E | Shaft, Round—Ø12, M5 male, M5 female, 493.5 | 027045 | 4 |
| 3 | Screw, Cap, Round Head—M5×0.8 X 14, Stainless Steel | 023319 | 4 |
Tools
- Hex Key, 3 mm
- Open End Wrench, 10 mm
- Torque wrench (optional, for safety applications)
- Loctite 243 thread locker (optional, for high vibration applications)
Installation
Step 1
Remove four M5×0.8 screws from the Dingo's top plates where you will mount the riser.
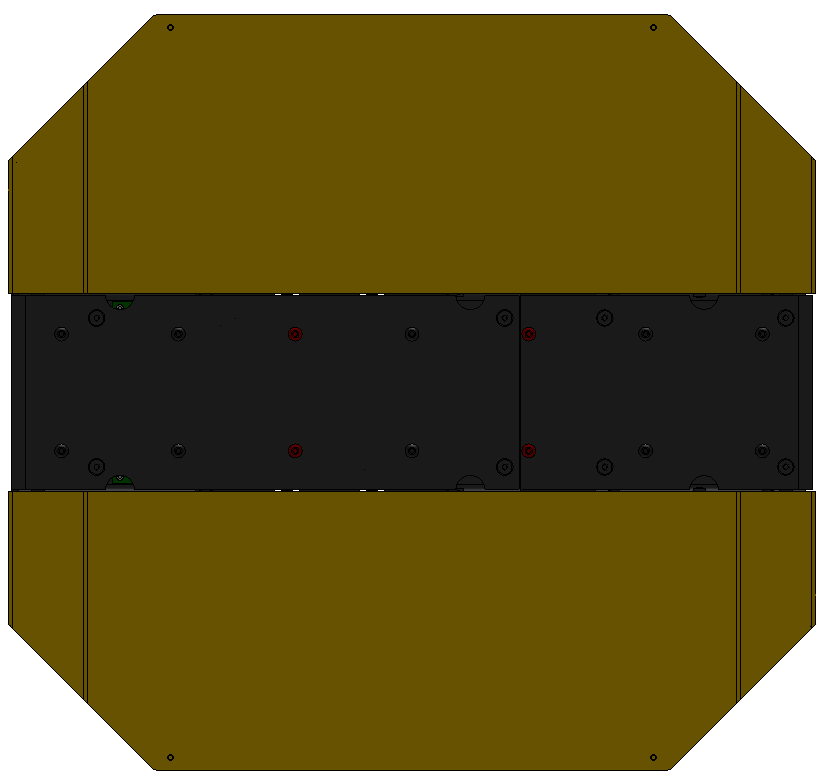
We suggest you to remove the 3rd and 5th rows of screws from the front of the Dingo-D or Dingo-O. You can choose different locations to suit your application, but this will require custom URDF software work.
Step 2
Insert the male threaded side of the shafts (ID2) into the holes where you removed the screws in Step 1.
Torque these shafts to 5 N·m if you are concerned about them loosening from high vibration applications.
You may add a small amount of thread locker to these screws if you are concerned about them loosening from high vibration applications.
Step 3
Repeat this for the 3 remaining shafts.
Step 4
Place the riser's plate on top of the shafts. The plate is symmetrical, so there is not a front / back side.
Step 5
Fasten the plate using 4 screws (ID3)
Torque these screws to 5 N·m if you are concerned about them loosening from high vibration applications.
You may add a small amount of thread locker to these screws if you are concerned about them loosening from high vibration applications.