Nav2 ROS Actions
Refer to the official ROS documentation to learn more about how Actions work in ROS 2
Actions are a type of ROS communication used for long-running tasks. They provide feedback while the task is in-progress as well as when the task completes (successfully or unsuccessfully).
Nav2 provides an action-based interface for commanding the robot. In this tutorial we will use
the navigate_to_pose action to command the robot to drive to a location on the map.
The Navigate To Pose Action
The navigate_to_pose action is defined by the nav2_msgs/action/NavigateToPose message
in the nav2_msgs package:
#goal definition
geometry_msgs/PoseStamped pose
string behavior_tree
---
#result definition

# Error codes
# Note: The expected priority order of the errors should match the message order
uint16 NONE=0

uint16 error_code
string error_msg
---
#feedback definition
geometry_msgs/PoseStamped current_pose
builtin_interfaces/Duration navigation_time
builtin_interfaces/Duration estimated_time_remaining
int16 number_of_recoveries
float32 distance_remaining
The message is divided into 3 parts:
- the goal (what we send to the action server to command the robot),
- the result (what the robot sends back to us when the action completes), and
- feedback (what the robot sends to us while the action is still in-progress).
Determine the goal location
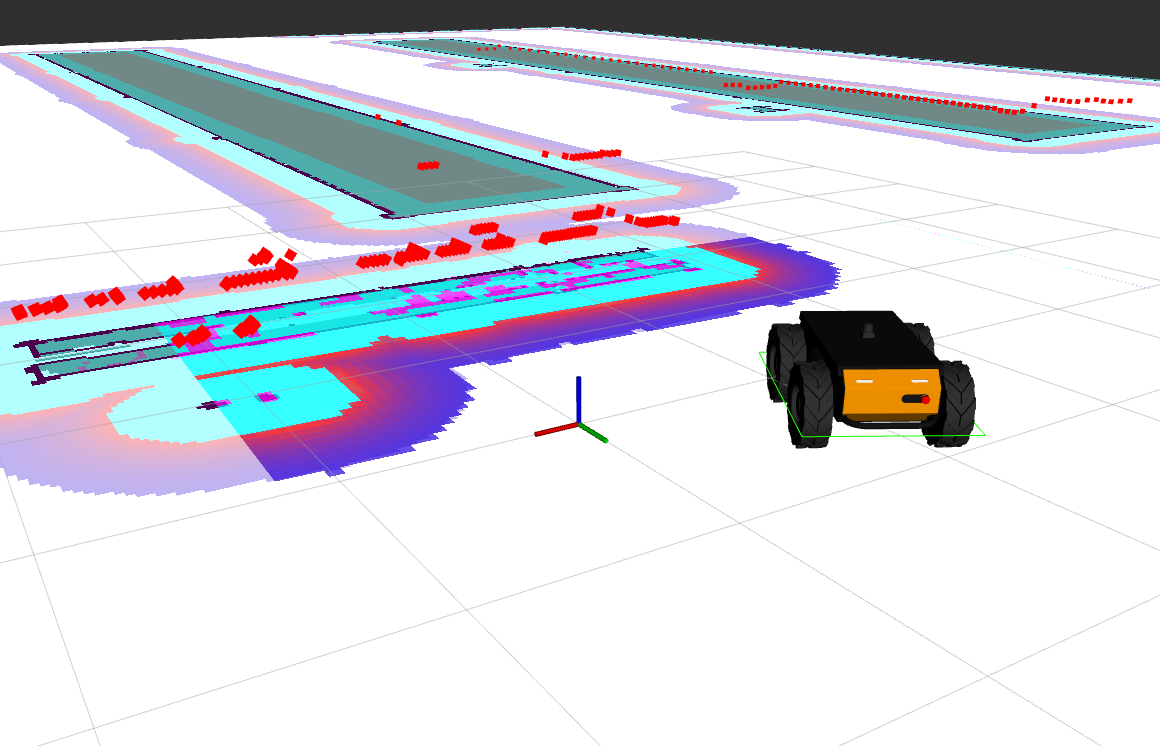
First we must determine where we want the robot to drive to. The easiest way to do this is to use the publish point tool.
Suppose we receve this point on the on the /a300_0000/clicked_point topic:
header:
  stamp:
    sec: 1747930384
    nanosec: 64483718
  frame_id: map
point:
  x: 1.3921791315078735
  y: 22.068382263183594
  z: 0.002532958984375
This point is near the left wall in the default Warehouse simulation environment.
The point.x, point.y, and point.z fields give us the 3-dimensional coordinate of the robot's goal
location relative to the map frame in the TF tree.
Instead of using the Publish Point tool, you could use a variety of other methods to determine the robot's goal location. For example you could:
- use the robot's current location and add an X/Y offset to move some fixed distance away
- save points of interest in a database or file and look them up
- use a camera to read & interpret a sign to dynamically determine a goal location These alternate ways to determine the robot's goal are outside the scope of this tutorial.
Determine the goal orientation
The navigate_to_pose action requires a PoseStamped object. A Pose in ROS consists of an
XYZ location in space and a Quaternion
representing its orientation.
Because we are using Nav2 in planar mode we only need to worry about the robot's yaw angle (the angle about the robot's Z axis).
The orientation is measured relative to the map frame, with 0.0 being aligned with the map's X axis. In RViz you can
view the map frame by expanding the TF display in the left toolbar, expanding the Frames list
and checking "map". The red leg of the frame marker is the X axis. (Rviz uses red for X, green for Y, and blue for Z.)
map frameOnce you know where the X axis of the map frame is aligned you can calculate the yaw angle for the robot by
rotating anticlockwise from the X axis:
| Yaw angle (Degrees) | Yaw Angle (Radians) | Description |
|---|---|---|
| 0.0 | 0.0 | Aligned with the map frame's positive X axis. |
| 90.0 | 1.570796 | Aligned with the map frame's positive Y axis. |
| 180.0 | 3.141593 | Aligned with the map frame's negative X axis. |
| 270.0 | 4.712389 | Aligned with the map frame's negative Y axis. |
To convert the yaw angle to a quaternion we need to do some math.
The tf2_geometry_msgs package contains functions for C++ and Python to automatically convert
between RPY angles and Quaternions.
See Quaternion Fundamentals for more information
Because we only need to consider rotation around the Z axis, the quaterion [X, Y, Z, W] can
be calculated as follows, using as the robot's orientation:
Sending the Action Goal
You can create an Action Client inside a ROS node instead of using the ros2 action command.
To command the robot to navigate we must send the goal to the navigate_to_pose action server. To do this
we will use the ros2 action send_goal command. Open a terminal and run the following command:
ros2 action send_goal /a300_0000/navigate_to_pose nav2_msgs/action/NavigateToPose \
'pose:
  header:
    frame_id: map
  pose:
    position:
      x: 1.3921791315078735
      y: 22.068382263183594
      z: 0.002532958984375
    orientation:
      x: 0.0
      y: 0.0
      z: 1.0
      w: 0.0
' --feedback
where the position field is populated with the XYZ coordinates from the goal position
and the orientation field is pipulated with the XYZW quaternion from the goal orientation.
While the robot is driving you will see the feedback messages being published, indicating the robot's progress towards its goal:
Feedback:
    current_pose:
  header:
    stamp:
      sec: 3016
      nanosec: 50000000
    frame_id: map
  pose:
    position:
      x: 1.8677012319954482
      y: 21.95154078990463
      z: 0.002532958984375
    orientation:
      x: 0.0
      y: 0.0
      z: 0.9991362787460035
      w: 0.04155353767837834
navigation_time:
  sec: 213
  nanosec: 288000000
estimated_time_remaining:
  sec: 3
  nanosec: 686967748
number_of_recoveries: 0
When the robot reaches its goal you will see the final result message:
Result:
    error_code: 0
error_msg: ''

Goal finished with status: SUCCEEDED