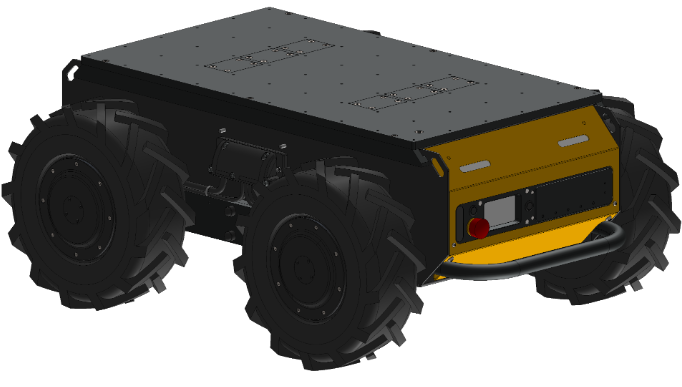
Husky A300 Overview
Key Documents
- User Manual: important safety information, robot overview and features, getting started, basic usage
- Integration Guide: details for attaching custom components
- Tutorials: examples on how to use the robot and customize software
- Maintenance Manual: preventative maintenance lists, component replacement procedures, and software update instructions
- Troubleshooting Guide: tips on resolving common issues
- Error Codes: Specific information on error codes and how to resolve them
Getting Started
Use the following steps to get started quickly with your Husky A300:
- Review the important safety notes.
- Remove Husky A300 from its shipping crate, power it on, clearing any stop conditions, and pressing the Safety Restart Button.
- Check the status lights and confirm that the robot is in the idle state.
- Connect the joystick and drive the robot.
- Set up a wired Ethernet connection to the Husky A300 debug port and configure the wifi settings.
- When the battery gets low, as seen on the rear display or based on the status lights, connect the charger.
Husky A300 is now set up and ready to go!
To learn more about controlling your robot, configure your laptop to work with Husky A300, explore the Tutorials, and read more about Using ROS.
Support
Clearpath is committed to your success. Please get in touch with us and we will do our best to get you rolling again quickly: support@clearpathrobotics.com.
To get in touch with a salesperson regarding Clearpath Robotics products, please email research-sales@clearpathrobotics.com.
If you have an issue that is specifically about ROS and is something which may be of interest to the broader community, consider asking it on Robotics Stack Exchange. If you do not get a satisfactory response, please ping us and include a link to your question as posted there. If appropriate, we will answer on Robotics Stack Exchange for the benefit of the community.