Jetson Nano Hardware in Dingo
Installation
note
This page outlines the steps for installing the Nano hardware in Dingo. See also the instructions for installing the Jetson software.
Step 1: Open up Dingo
Start by removing Dingo's side panels, yellow cover plates, and removing the center channel covers.

Step 2: Install the Nano
Dingo includes pre-threaded mounting holes for the Jetson Nano. We recommend using 20mm standoffs to raise the board.

Connect the Jetson's power cable to the 5V output from Dingo's MCU.
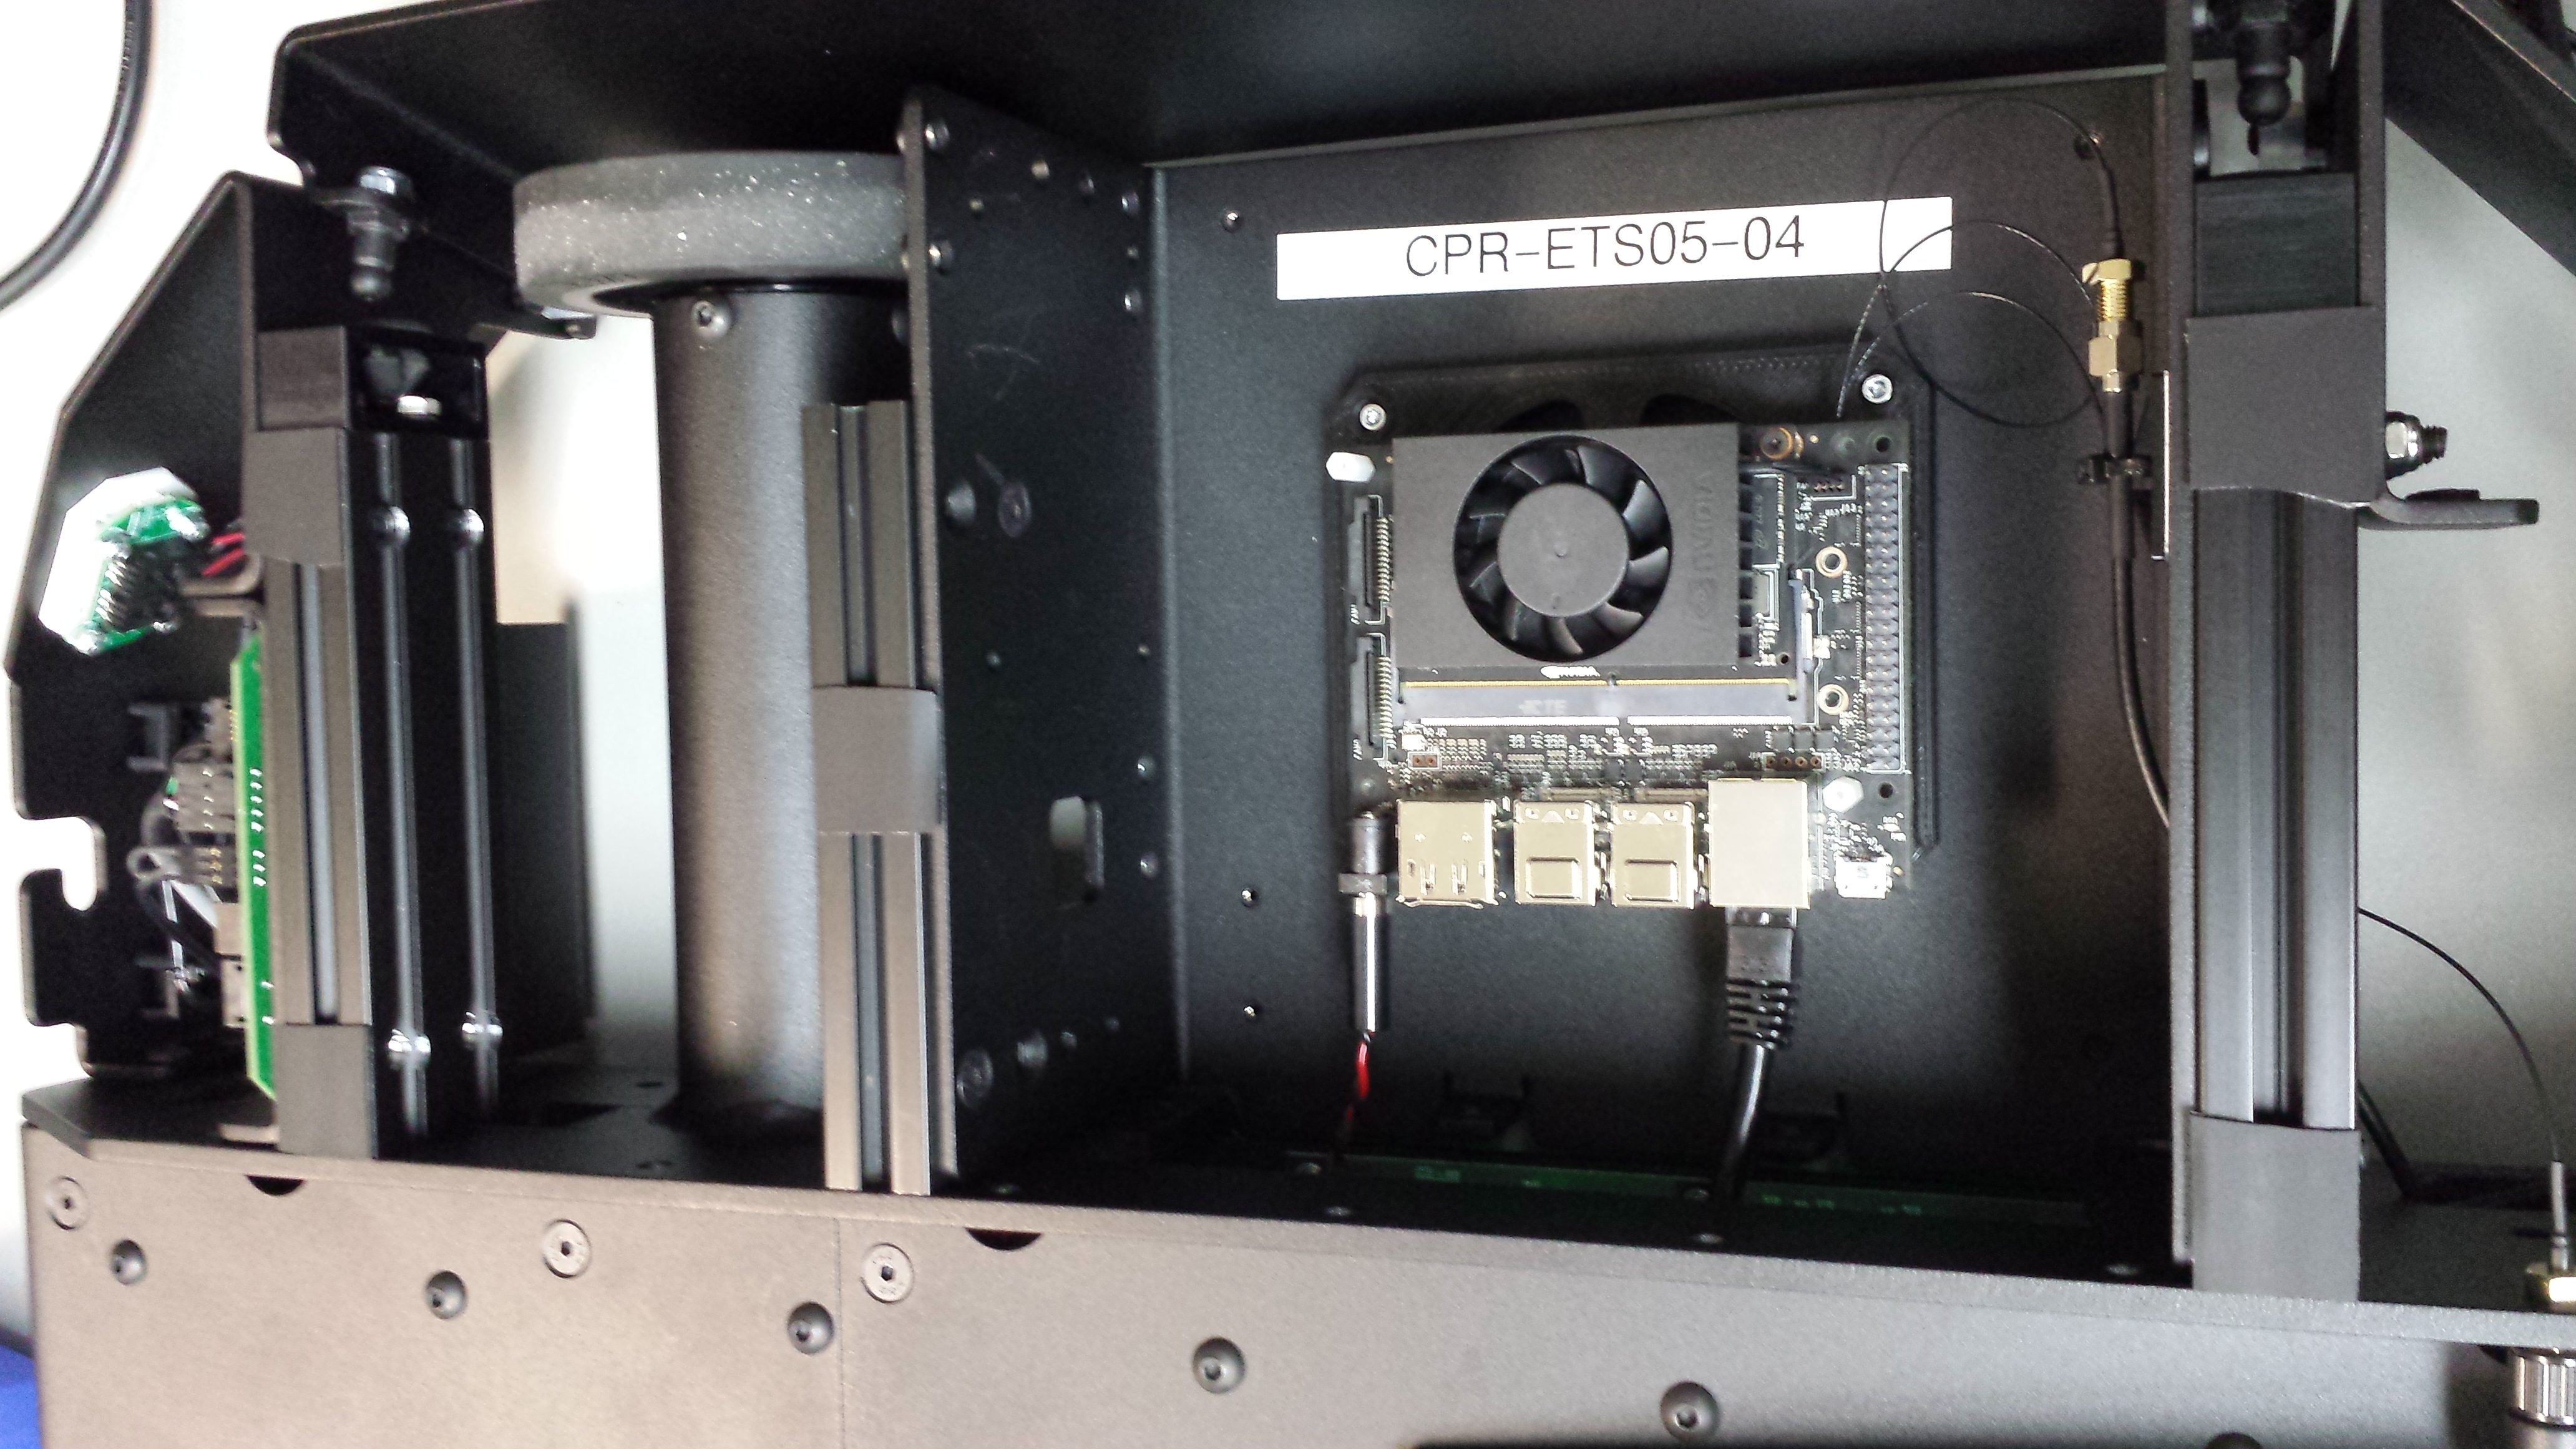
The Ethernet port on the Nano will eventually need to be connected to the Ethernet port of Dingo's MCU. If you have a network switch installed you can connect the MCU and the Nano to the switch. Otherwise leave the MCU disconnected for now so that the Nano's Ethernet port can be used for downloading the software from the internet.