Clearpath Computer Setup
The clearpath_computer_setup package offers a terminal menu tool for configuring a robot computer.
The main feature of this tool is the ability to generate netplan configurations. The clearpath_computer_setup
package is available on the Clearpath package server.
It should be installed on the robot's computer:
sudo apt install python3-clearpath-computer-setup
To run the tool, call:
sudo clearpath-computer-setup
Standard Clearpath Bridge
The default networking configuration for a robot's computer is to bridge all Ethernet interfaces and assign the computer
the IP address 192.168.131.1. See Standard IP Addresses for a detailed list of IP ranges.
Changing or removing the default bridge configuration may result in your robot no longer working
properly. Certain components inside the robot rely on static IP addresses in the 192.168.131.0/24
subnet.
To configure the default bridge:
- Run
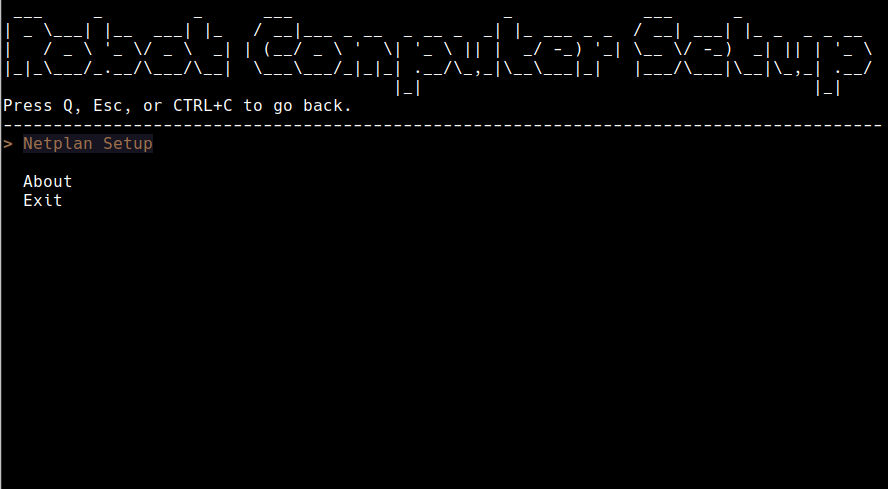
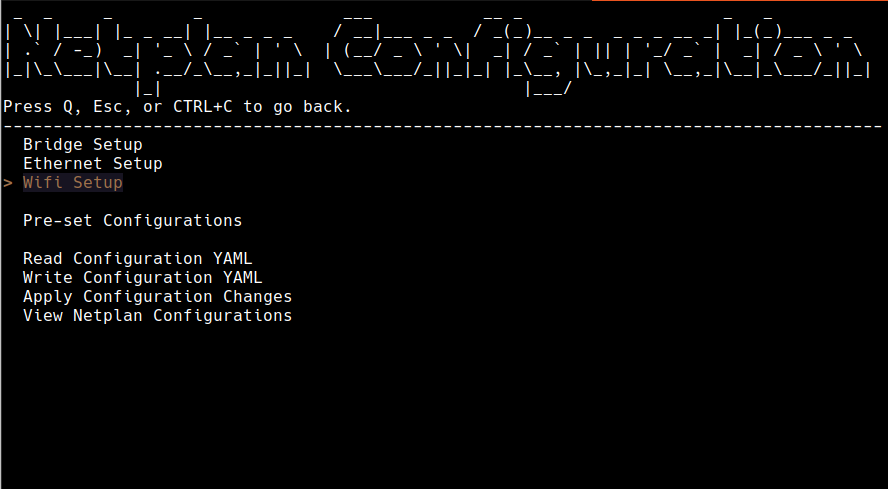
sudo clearpath-computer-setup - Navigate to Netplan Setup -> Pre-set Configurations.
- Select Standard Clearpath Bridge and generate the configuration by following the instructions.
- Return to the Netplan Setup menu and select Apply Configuration Changes.
This will create a /etc/netplan/50-clearpath-standard.yaml file and apply the changes to netplan.
Once the network settings have been applied, call ip a to check that the network bridge has been created, and
that the computer has been assigned the 192.168.131.1 IP address.
Connecting to an Existing Wi-Fi Network
Use the clearpath-computer-setup tool to connect your robot to your existing wireless network.
- Run
sudo clearpath-computer-setup - Navigate to Netplan Setup
- Navigate to WiFi Setup
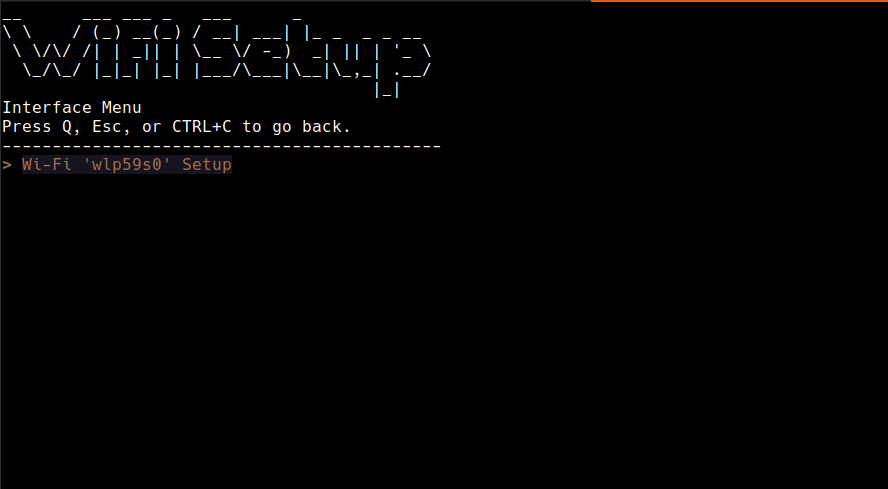
- Select the wireless interface you wish to configure. Most computers will only have one wireless
interface, but some may have more than one.
- Enter the SSID and password for your wireless network.
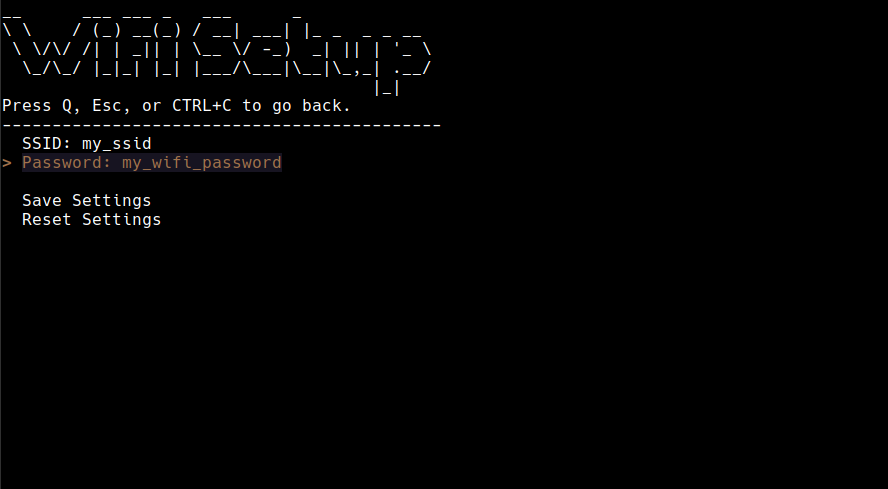
- Select Save Settings and press
ENTER.
Custom Networking
The clearpath-computer-setup tool can also be used to set up custom network interfaces.
- Navigate to the Netplan Setup menu and use the bridge, Ethernet, or Wi-Fi setup menus to add configurations.
- Once you are done configuring, return to the Netplan Setup menu and select Write Configuration YAML. You will be prompted for a file name. The file should be
placed under
/etc/netplan/to take effect, and the naming convention is a two digit number followed by a unique name. For example,/etc/netplan/50-home-wifi.yaml.
By convention, all Netplan configuration files should be prefixed with two numbers indicating the
order in which the file should be read. Files are read in alphanumeric order, with 00- prefixes
first and 99- prefixes last.
If multiple files define the same configuration, the last-read file will override the earlier definitions.
Once all files have been processed the result is amalgamated to create the system's Netplan confguration.