Top Plate
The top plates for the Warthog include M5×0.8 threaded holes that match the Clearpath PACS™ standard.
Sales Kits
This kit requires a Warthog with Extrusion Rails. Refer to the Extrusion Rails page for further details.
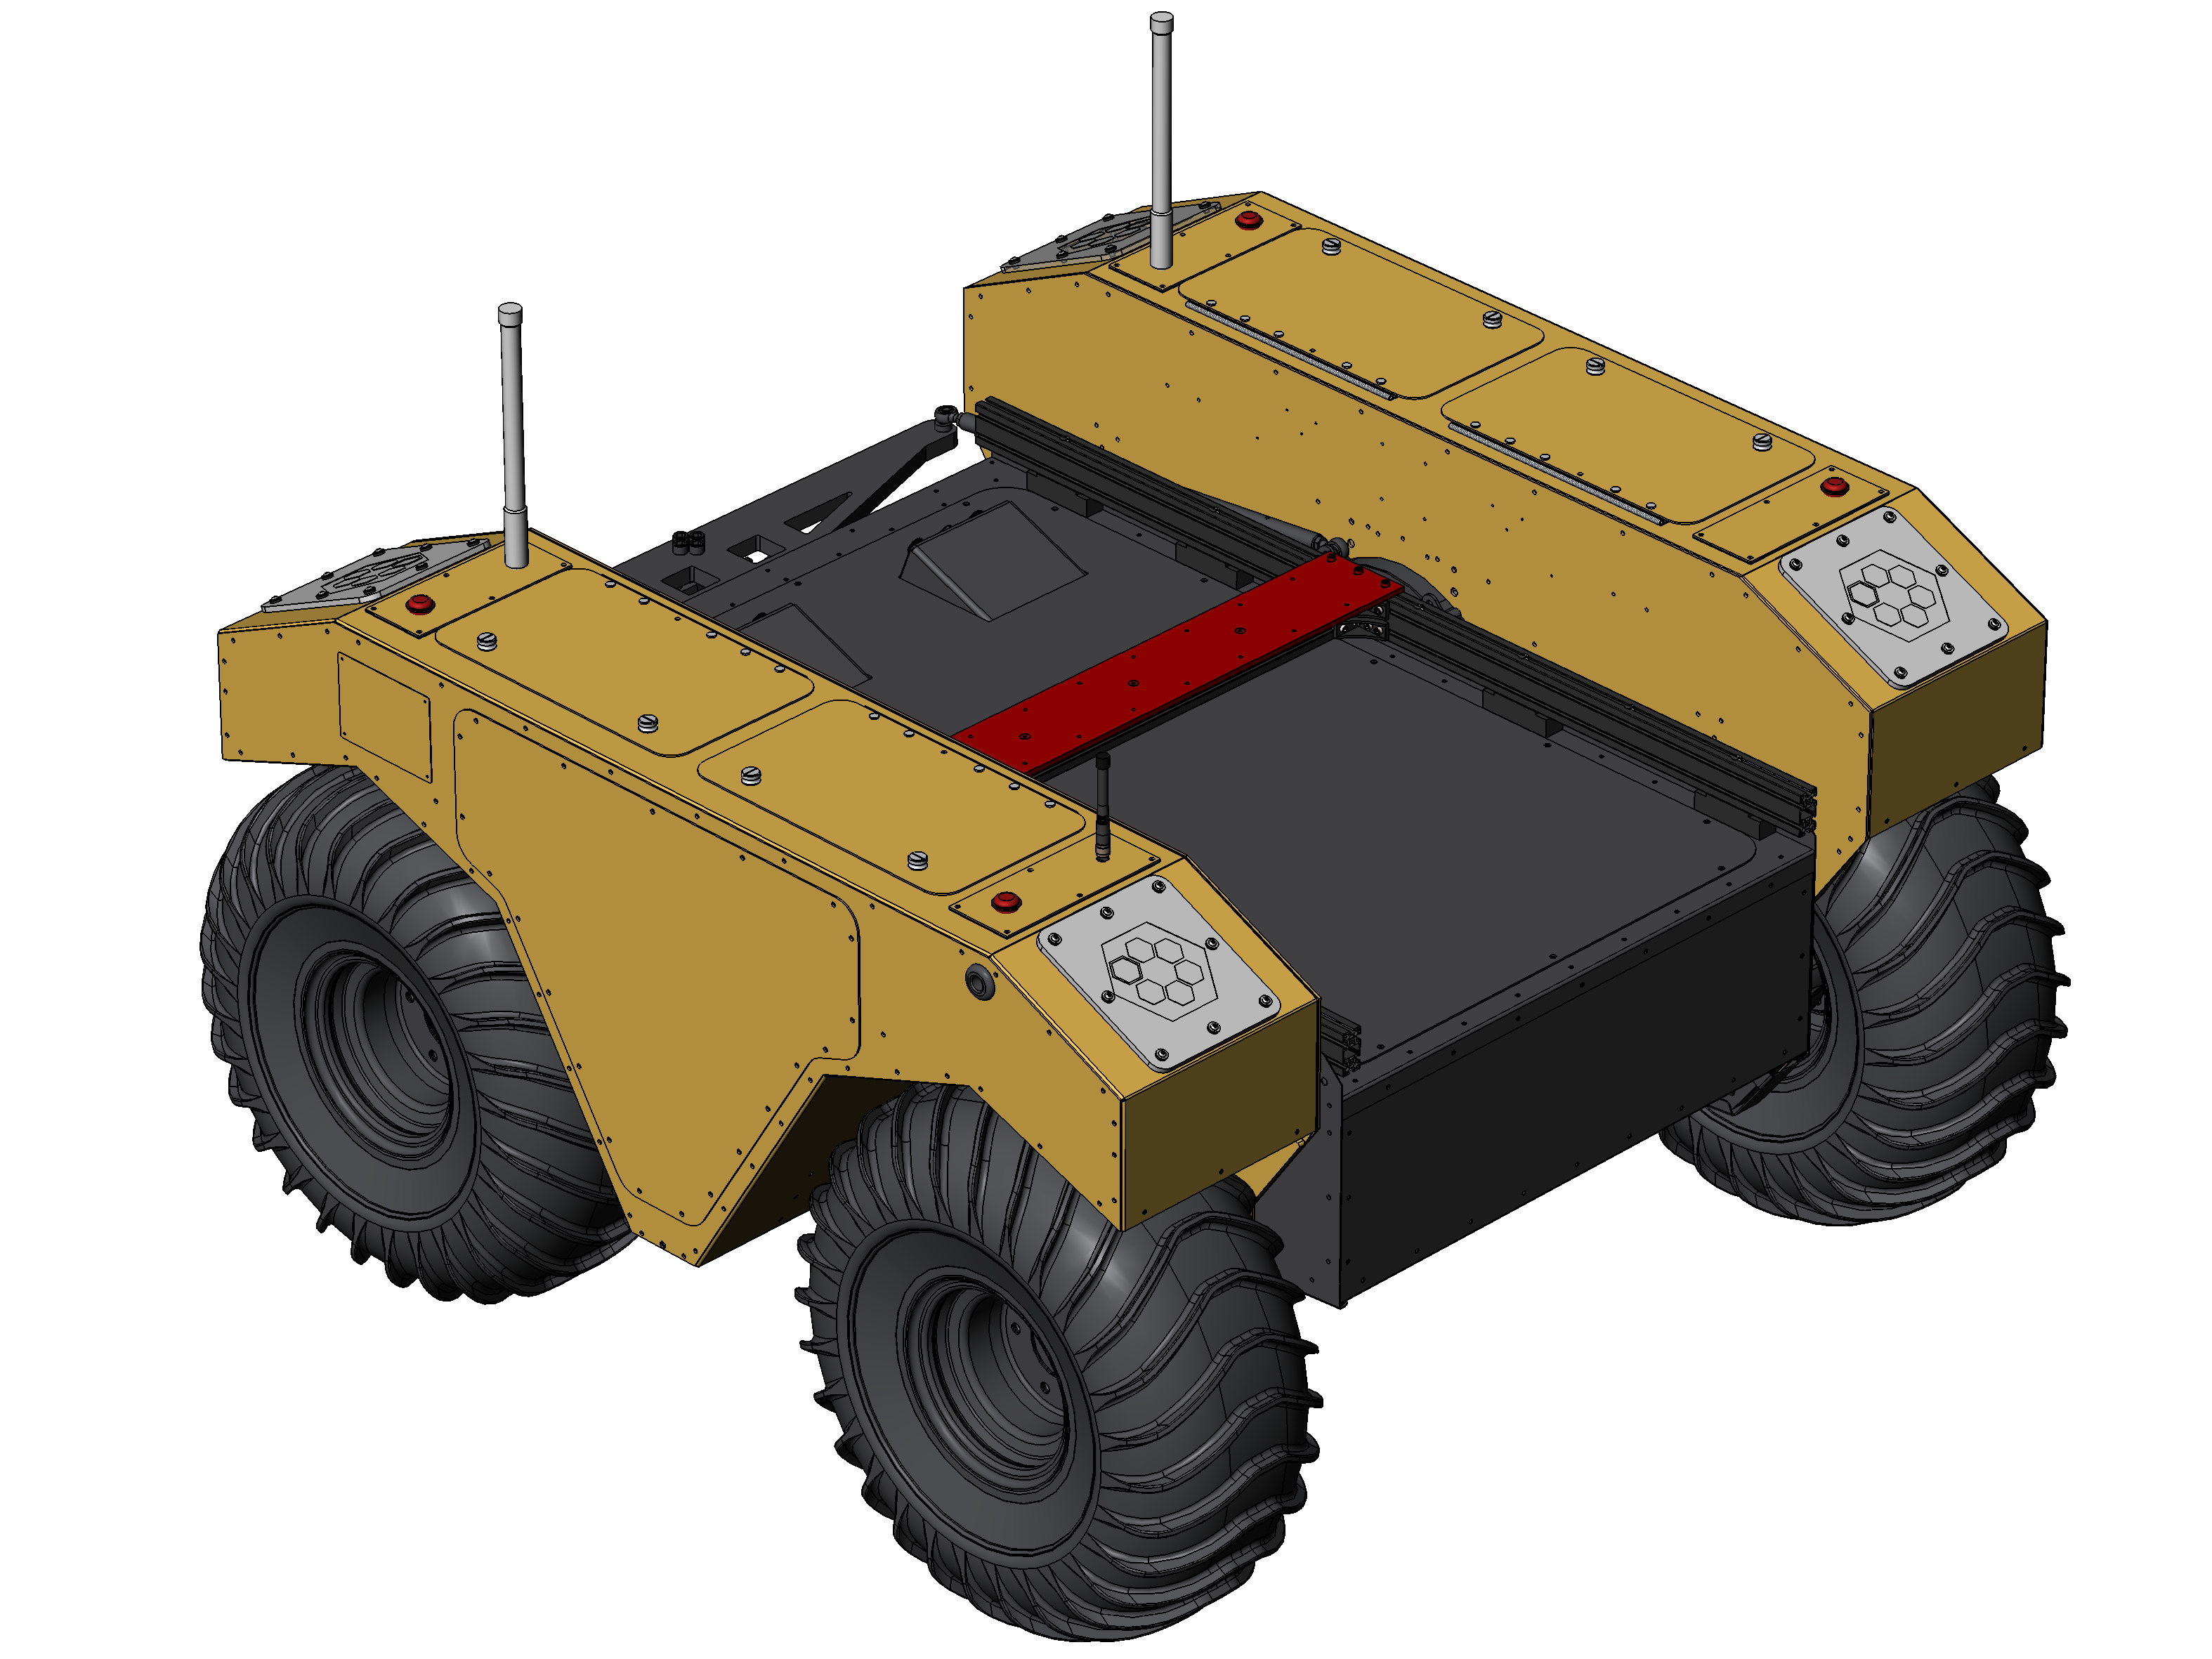
This Top Plate can be stiffened by adding a Crossbar underneath it. Refer to the Crossbar page for further details.
| Description | Sales Kit |
|---|---|
| Installation, Kit, Attachment Top Plate—Warthog | 028462 |
Parts List
| ID | Description | CPR item | Quantity |
|---|---|---|---|
| 1 | Plate—110 X 704.5 | 028451 | 1 |
| 2 | Nut, T-Slot—M5×0.8 X 5.8 X 10, Steel | 028463 | 9 |
| 3 | Screw, Flat Head—M5×0.8 X 12, Stainless Steel | 023471 | 3 |
| 4 | Screw, Cap, Socket Head—M5×0.8 X 12, Stainless Steel | 023151 | 6 |
Tools required
- Hex Key, 3 mm
- Torque wrench (optional, for safety applications)
- Loctite 243 (optional, for high vibration applications)
Installation
Step 1
Insert T-slot nuts (ID2) into the Warthog's Extrusion Rail and Cross-Bar.
You may need to loosen the Cross-Bar's brackets to get access to the end for inserting the T-slot nuts.
Step 2
Place the Plate (ID1) ontop of the Extrusion Rails and Crossbar. The Plate's countersink features should be facing up.
Step 3
Install Screws (ID3) and (ID4) into the Plate's holes; threading the Screws into the T-slot nuts from Step 1.
Torque these screws to 5 N·m if you are concerned about them loosening from high vibration applications.
You may add a small amount of thread locker to these screws if you are concerned about them loosening from high vibration applications.